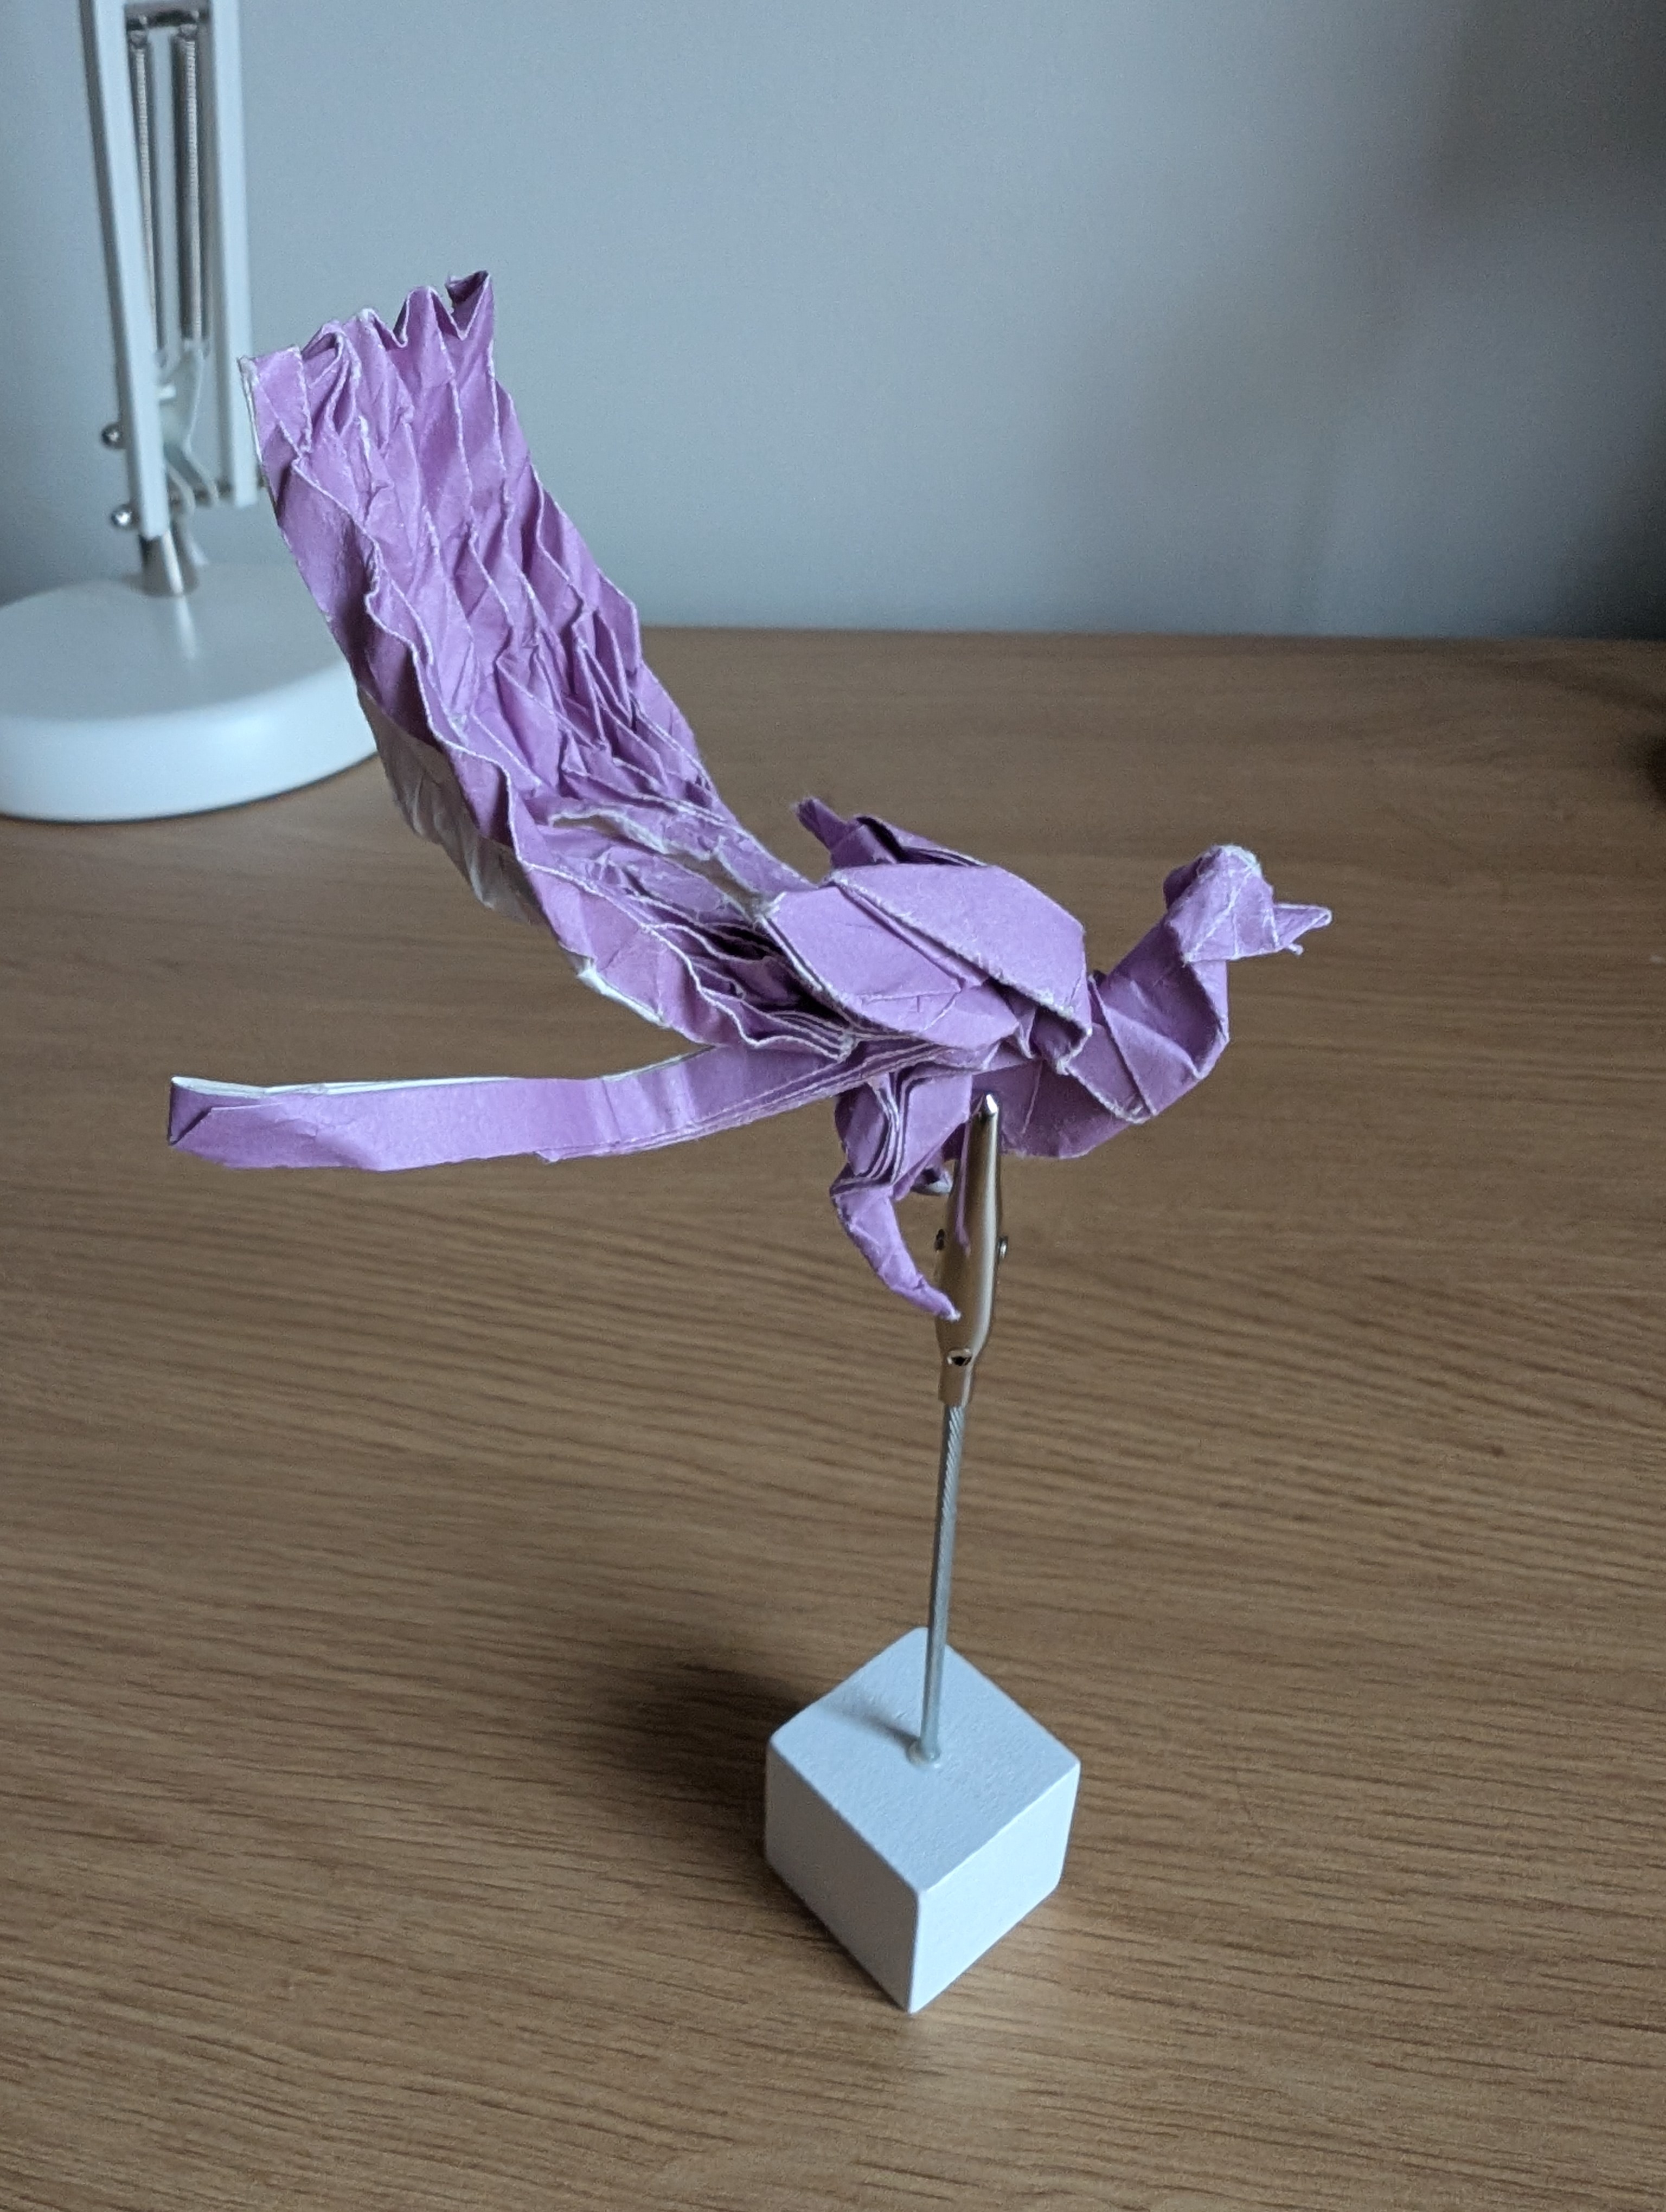
Origami lyrebird
Design by Satoshi Kamiya.
This is a study of the origami lyrebird designed by Satoshi Kamiya. Look up lyrebirds—they remind me a bit of a dinosaur-turned-chicken. Their tails are a poor man’s attempt at a peacock and their mimicry is incredible! They can copy virtually anything.1
My poor man’s attempt at copying the lyrebird was plagued by ill-chosen paper size and a slight contempt towards origami tesselations, which bit me in the back when trying the tail. The recommended paper size is 25x25cm. I chose 20x20cm because I did not have any larger paper in a nicer colour at hand.2
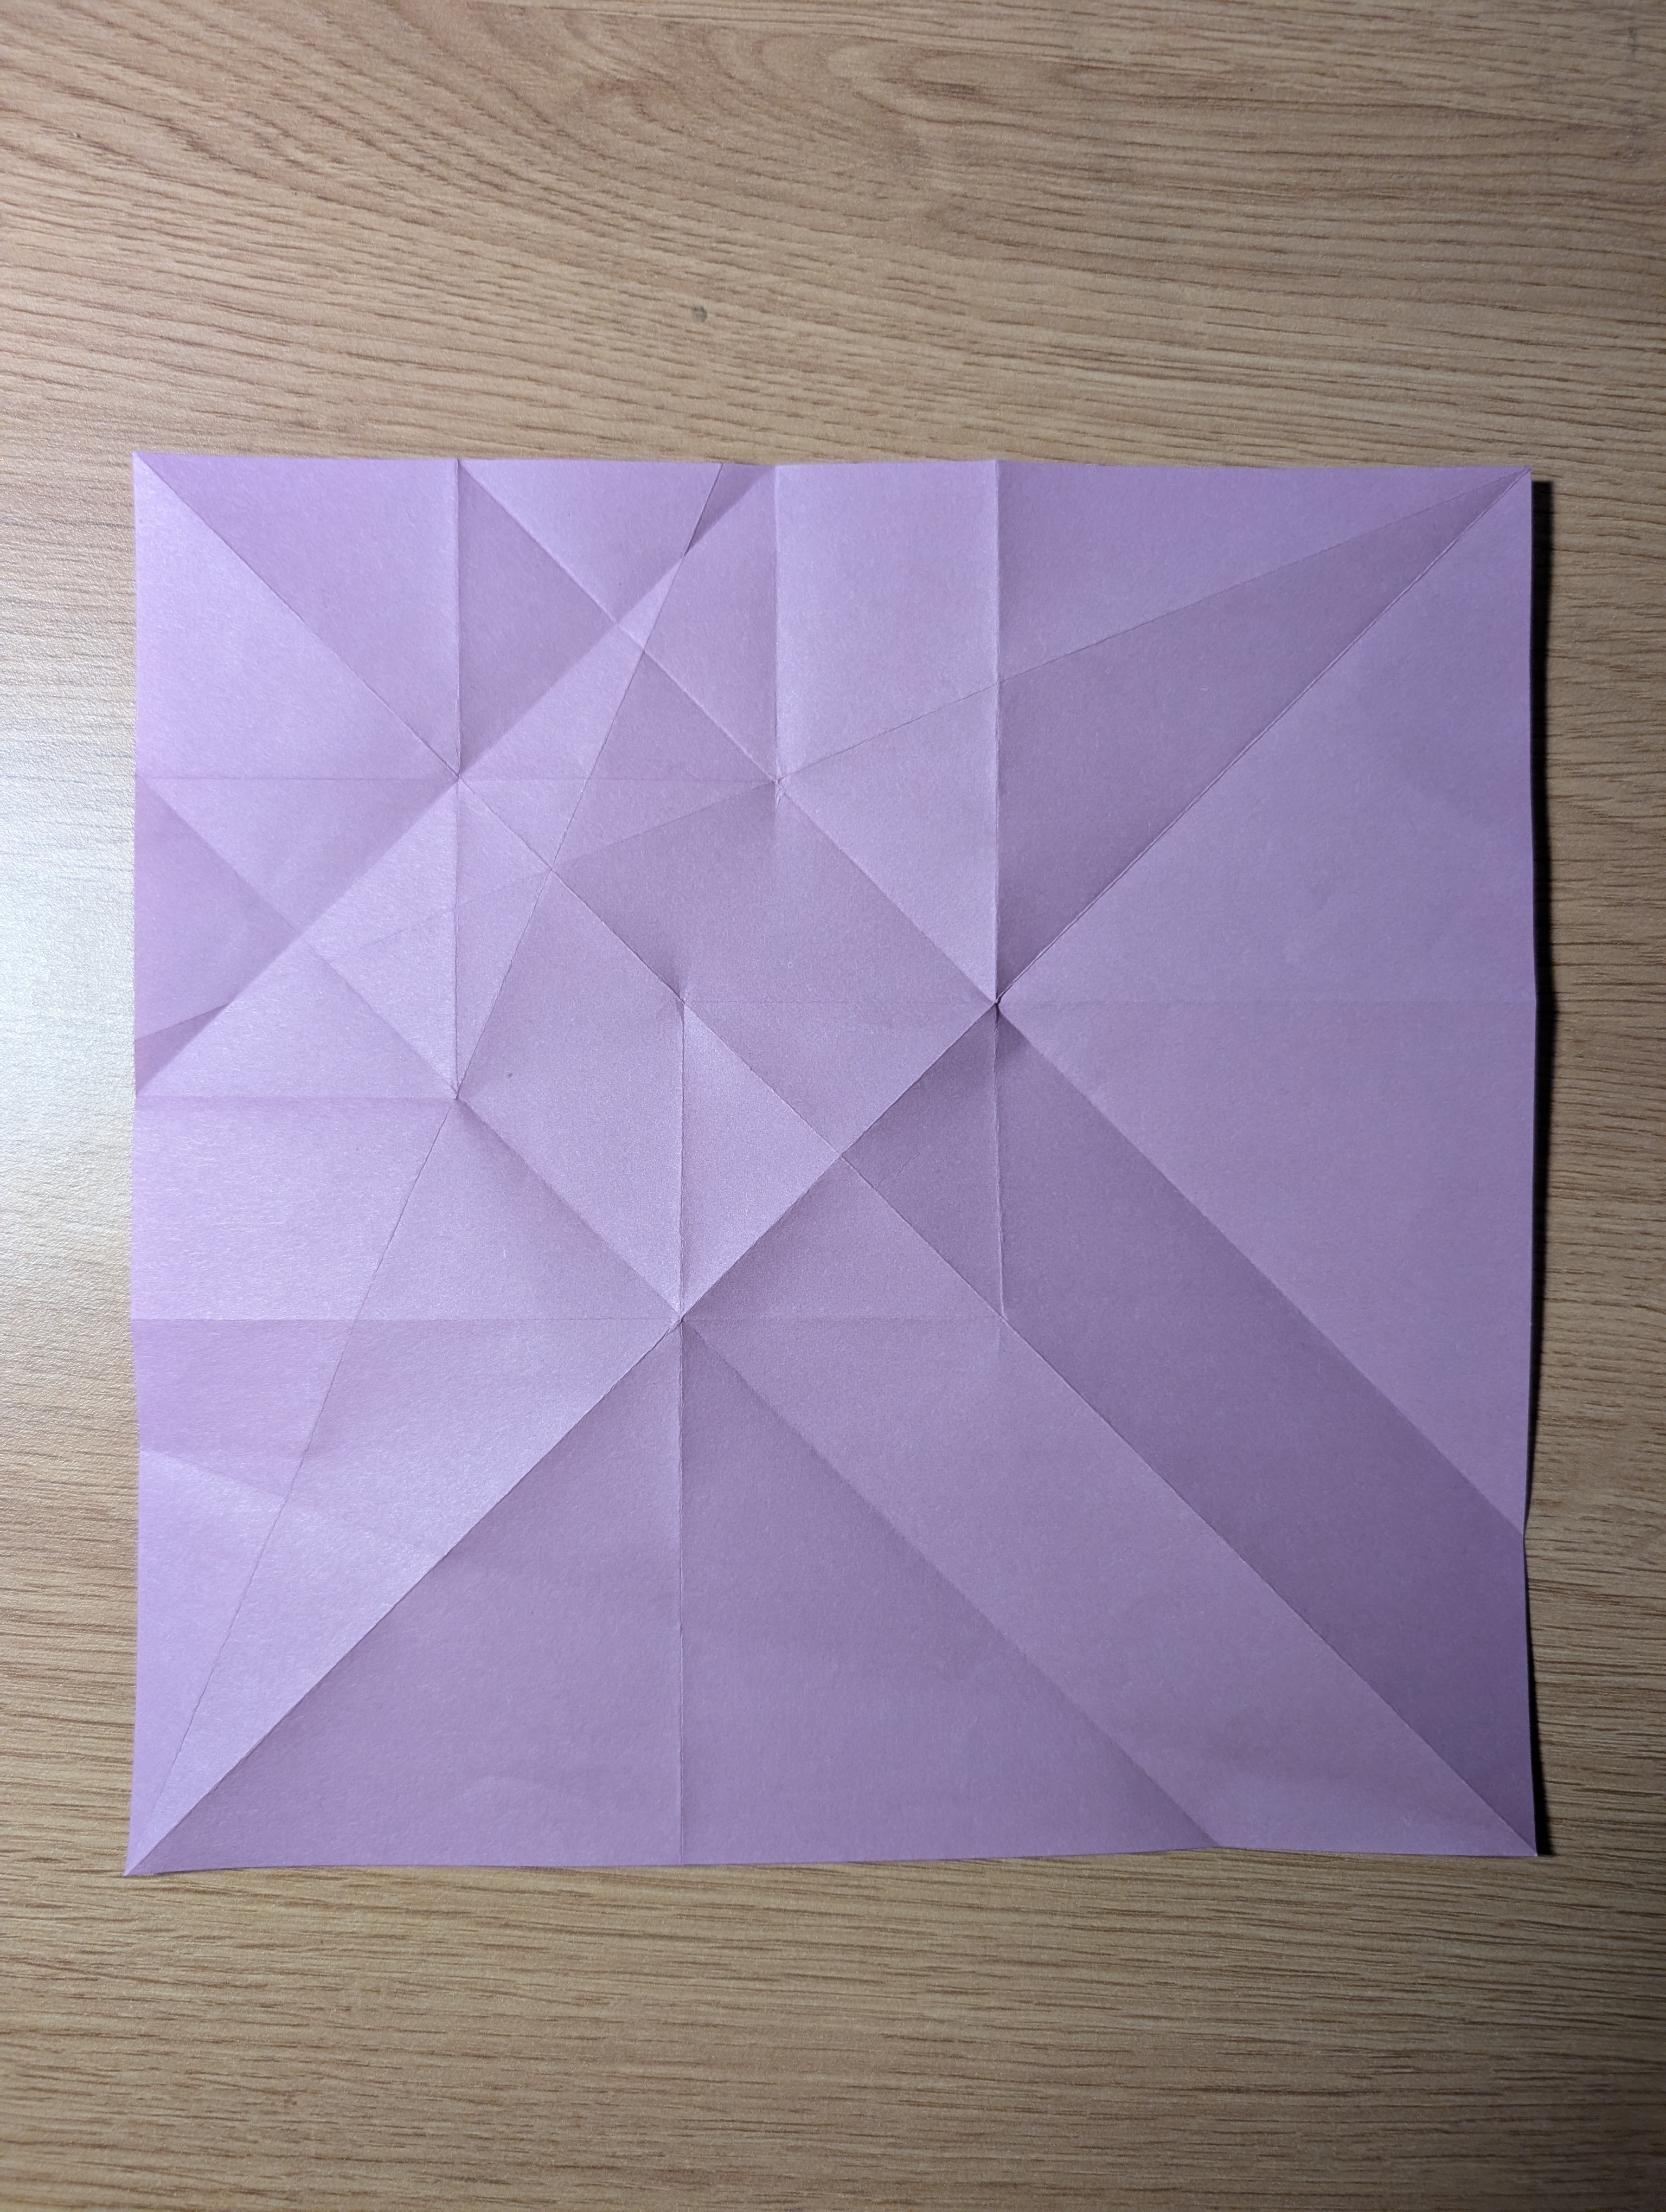
The precreasing of the lyrebird was mostly straightforward. At one point, a tip had to be divided into sixths (or rather, twice into thirds) by eye.
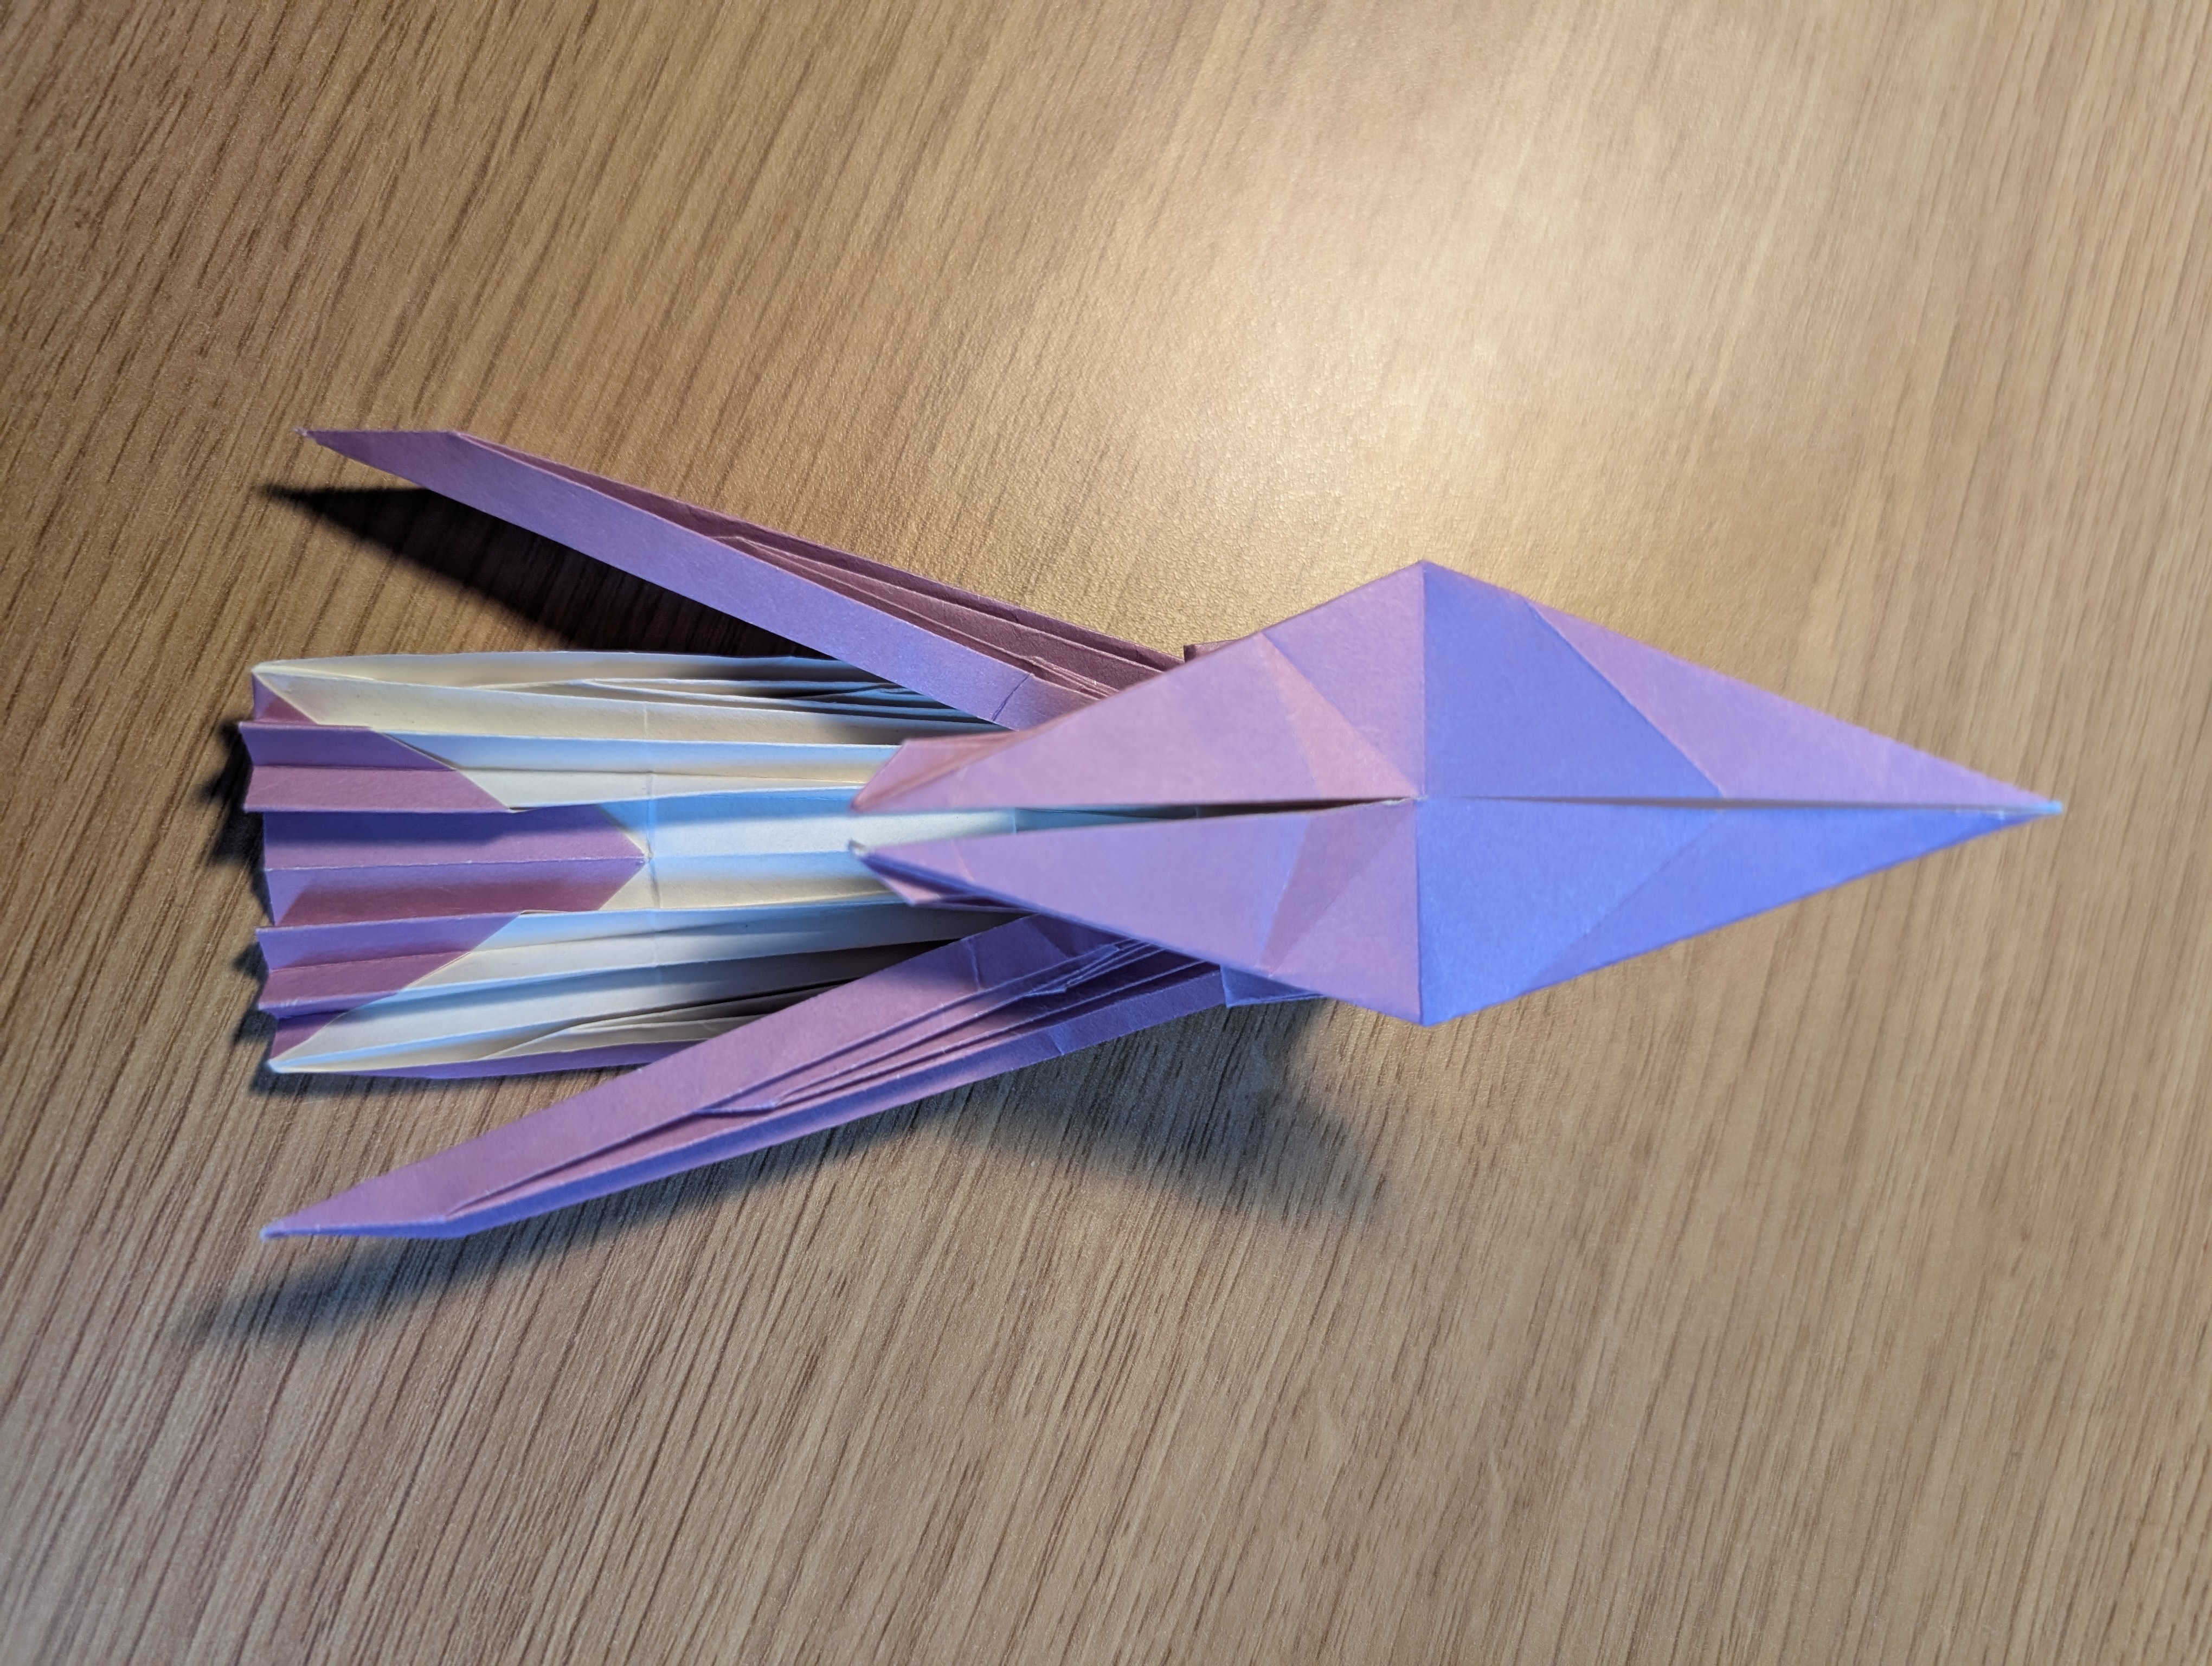
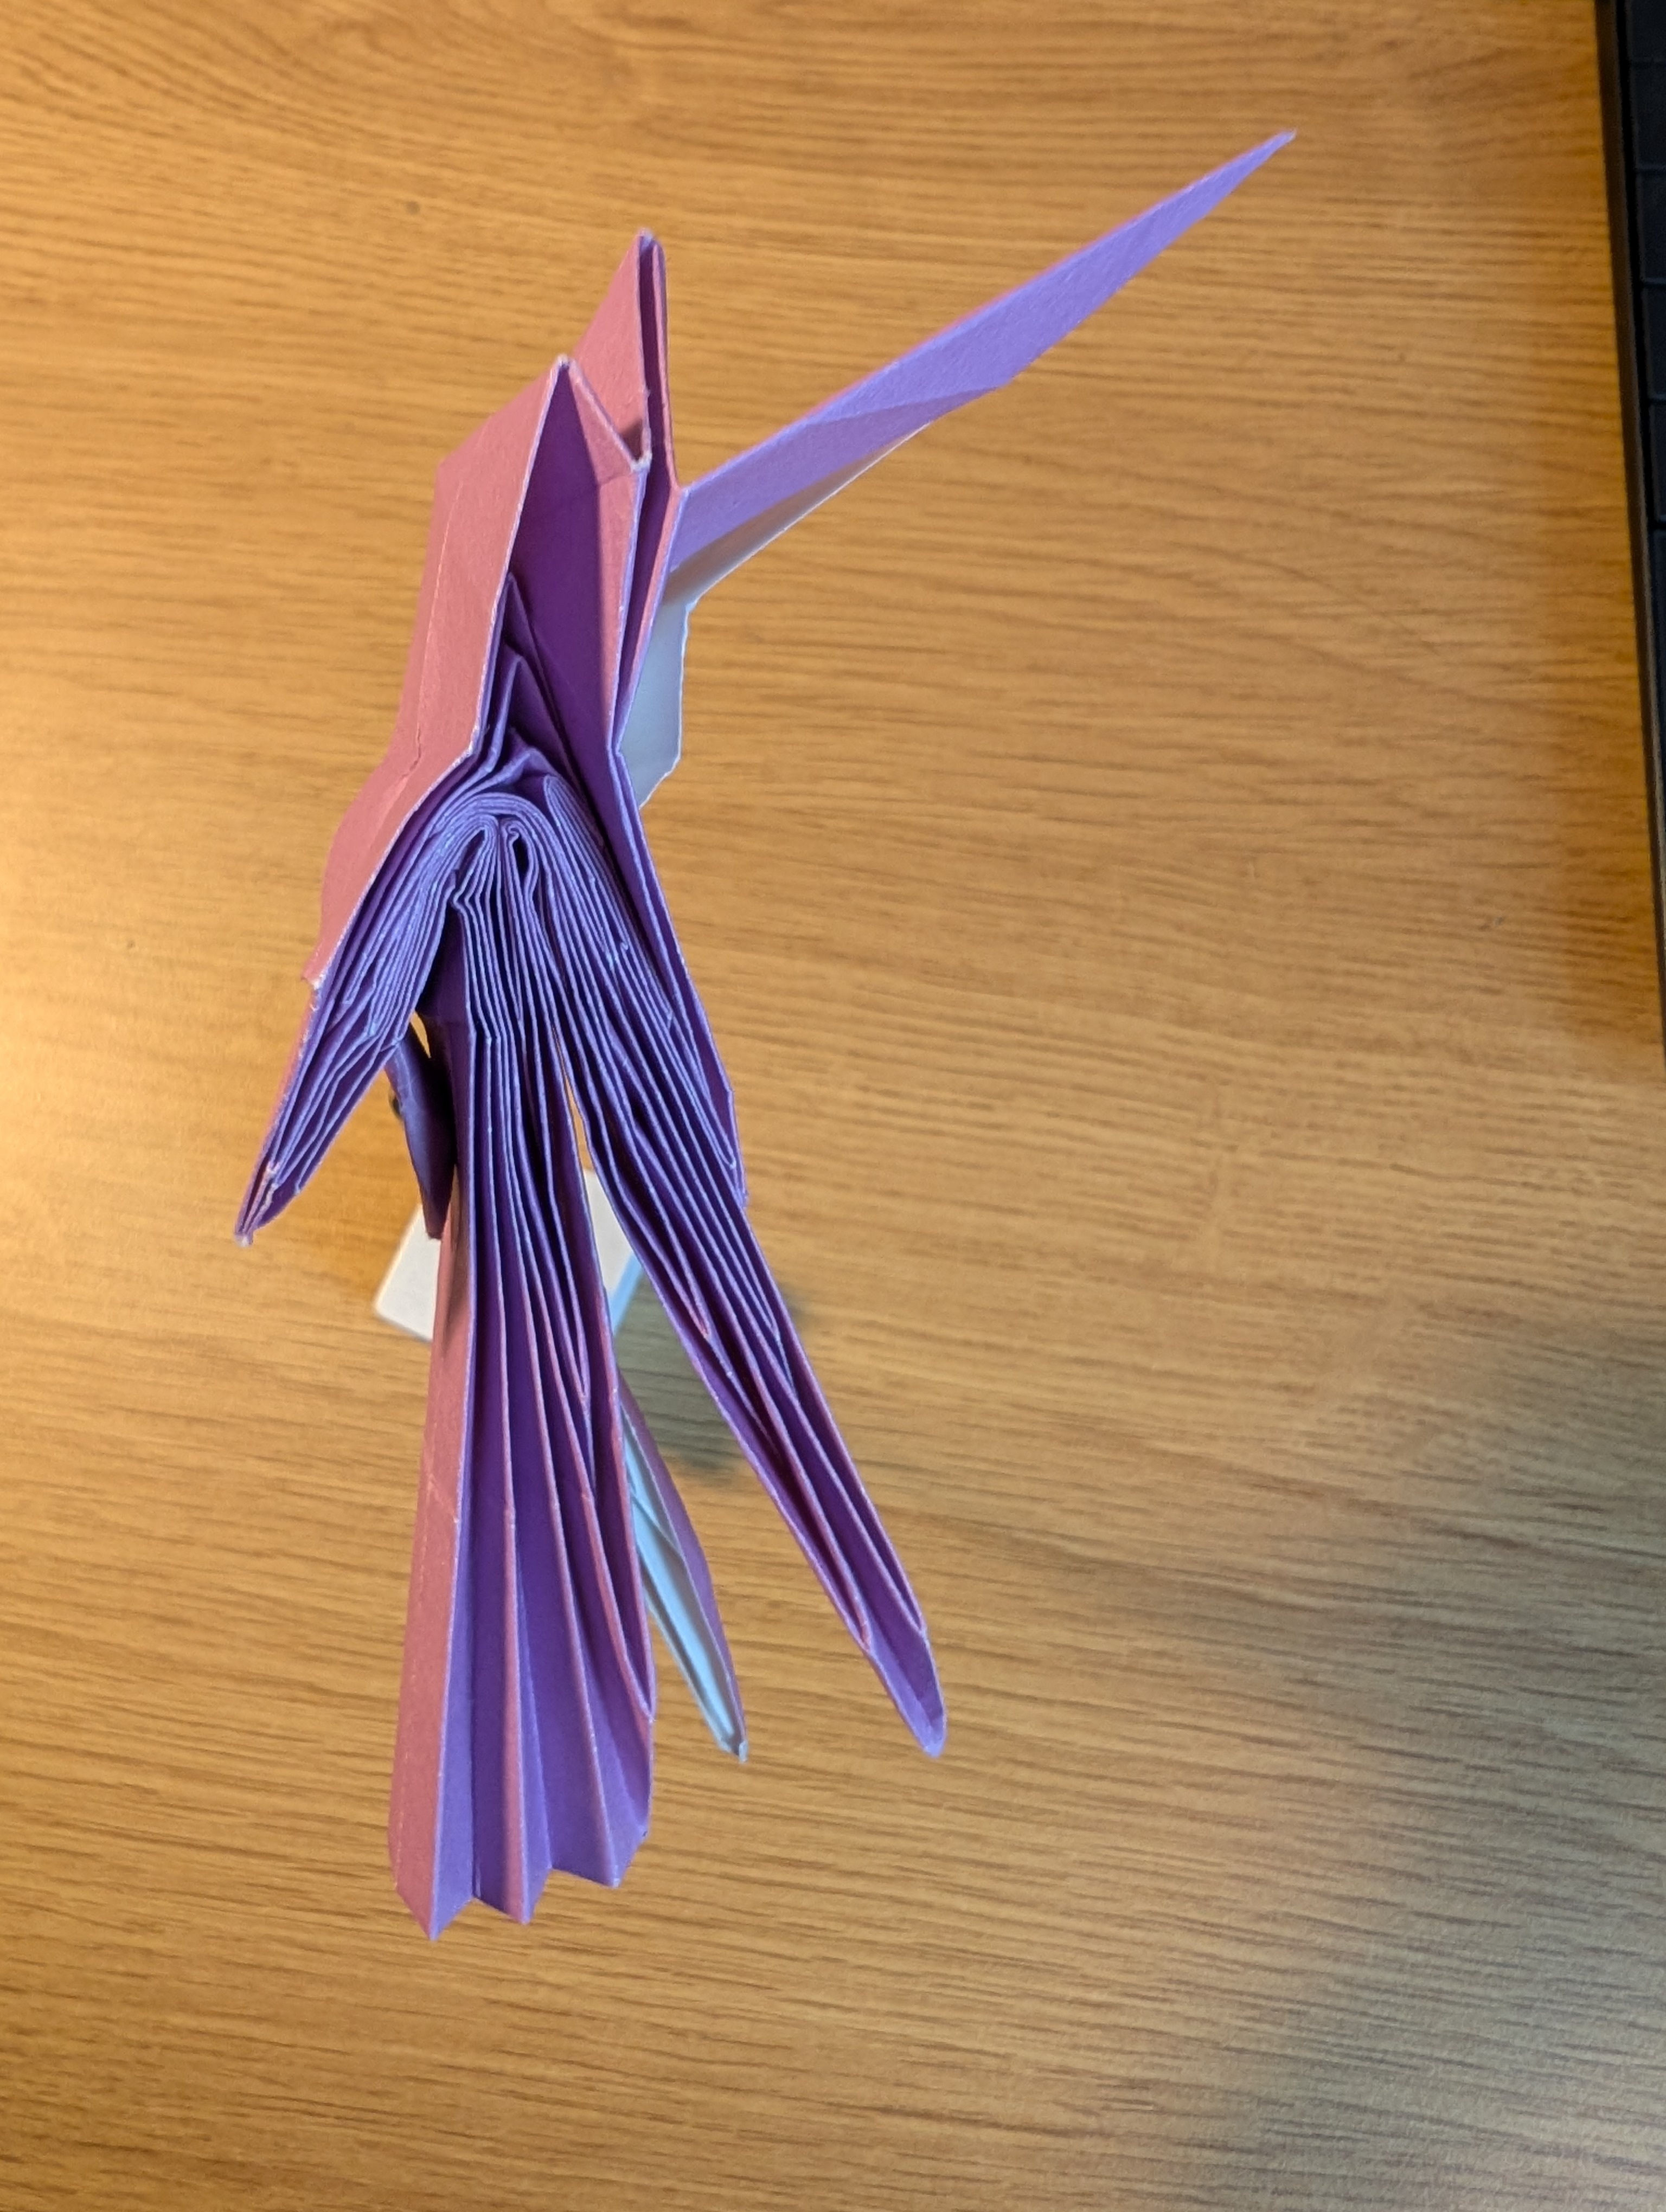
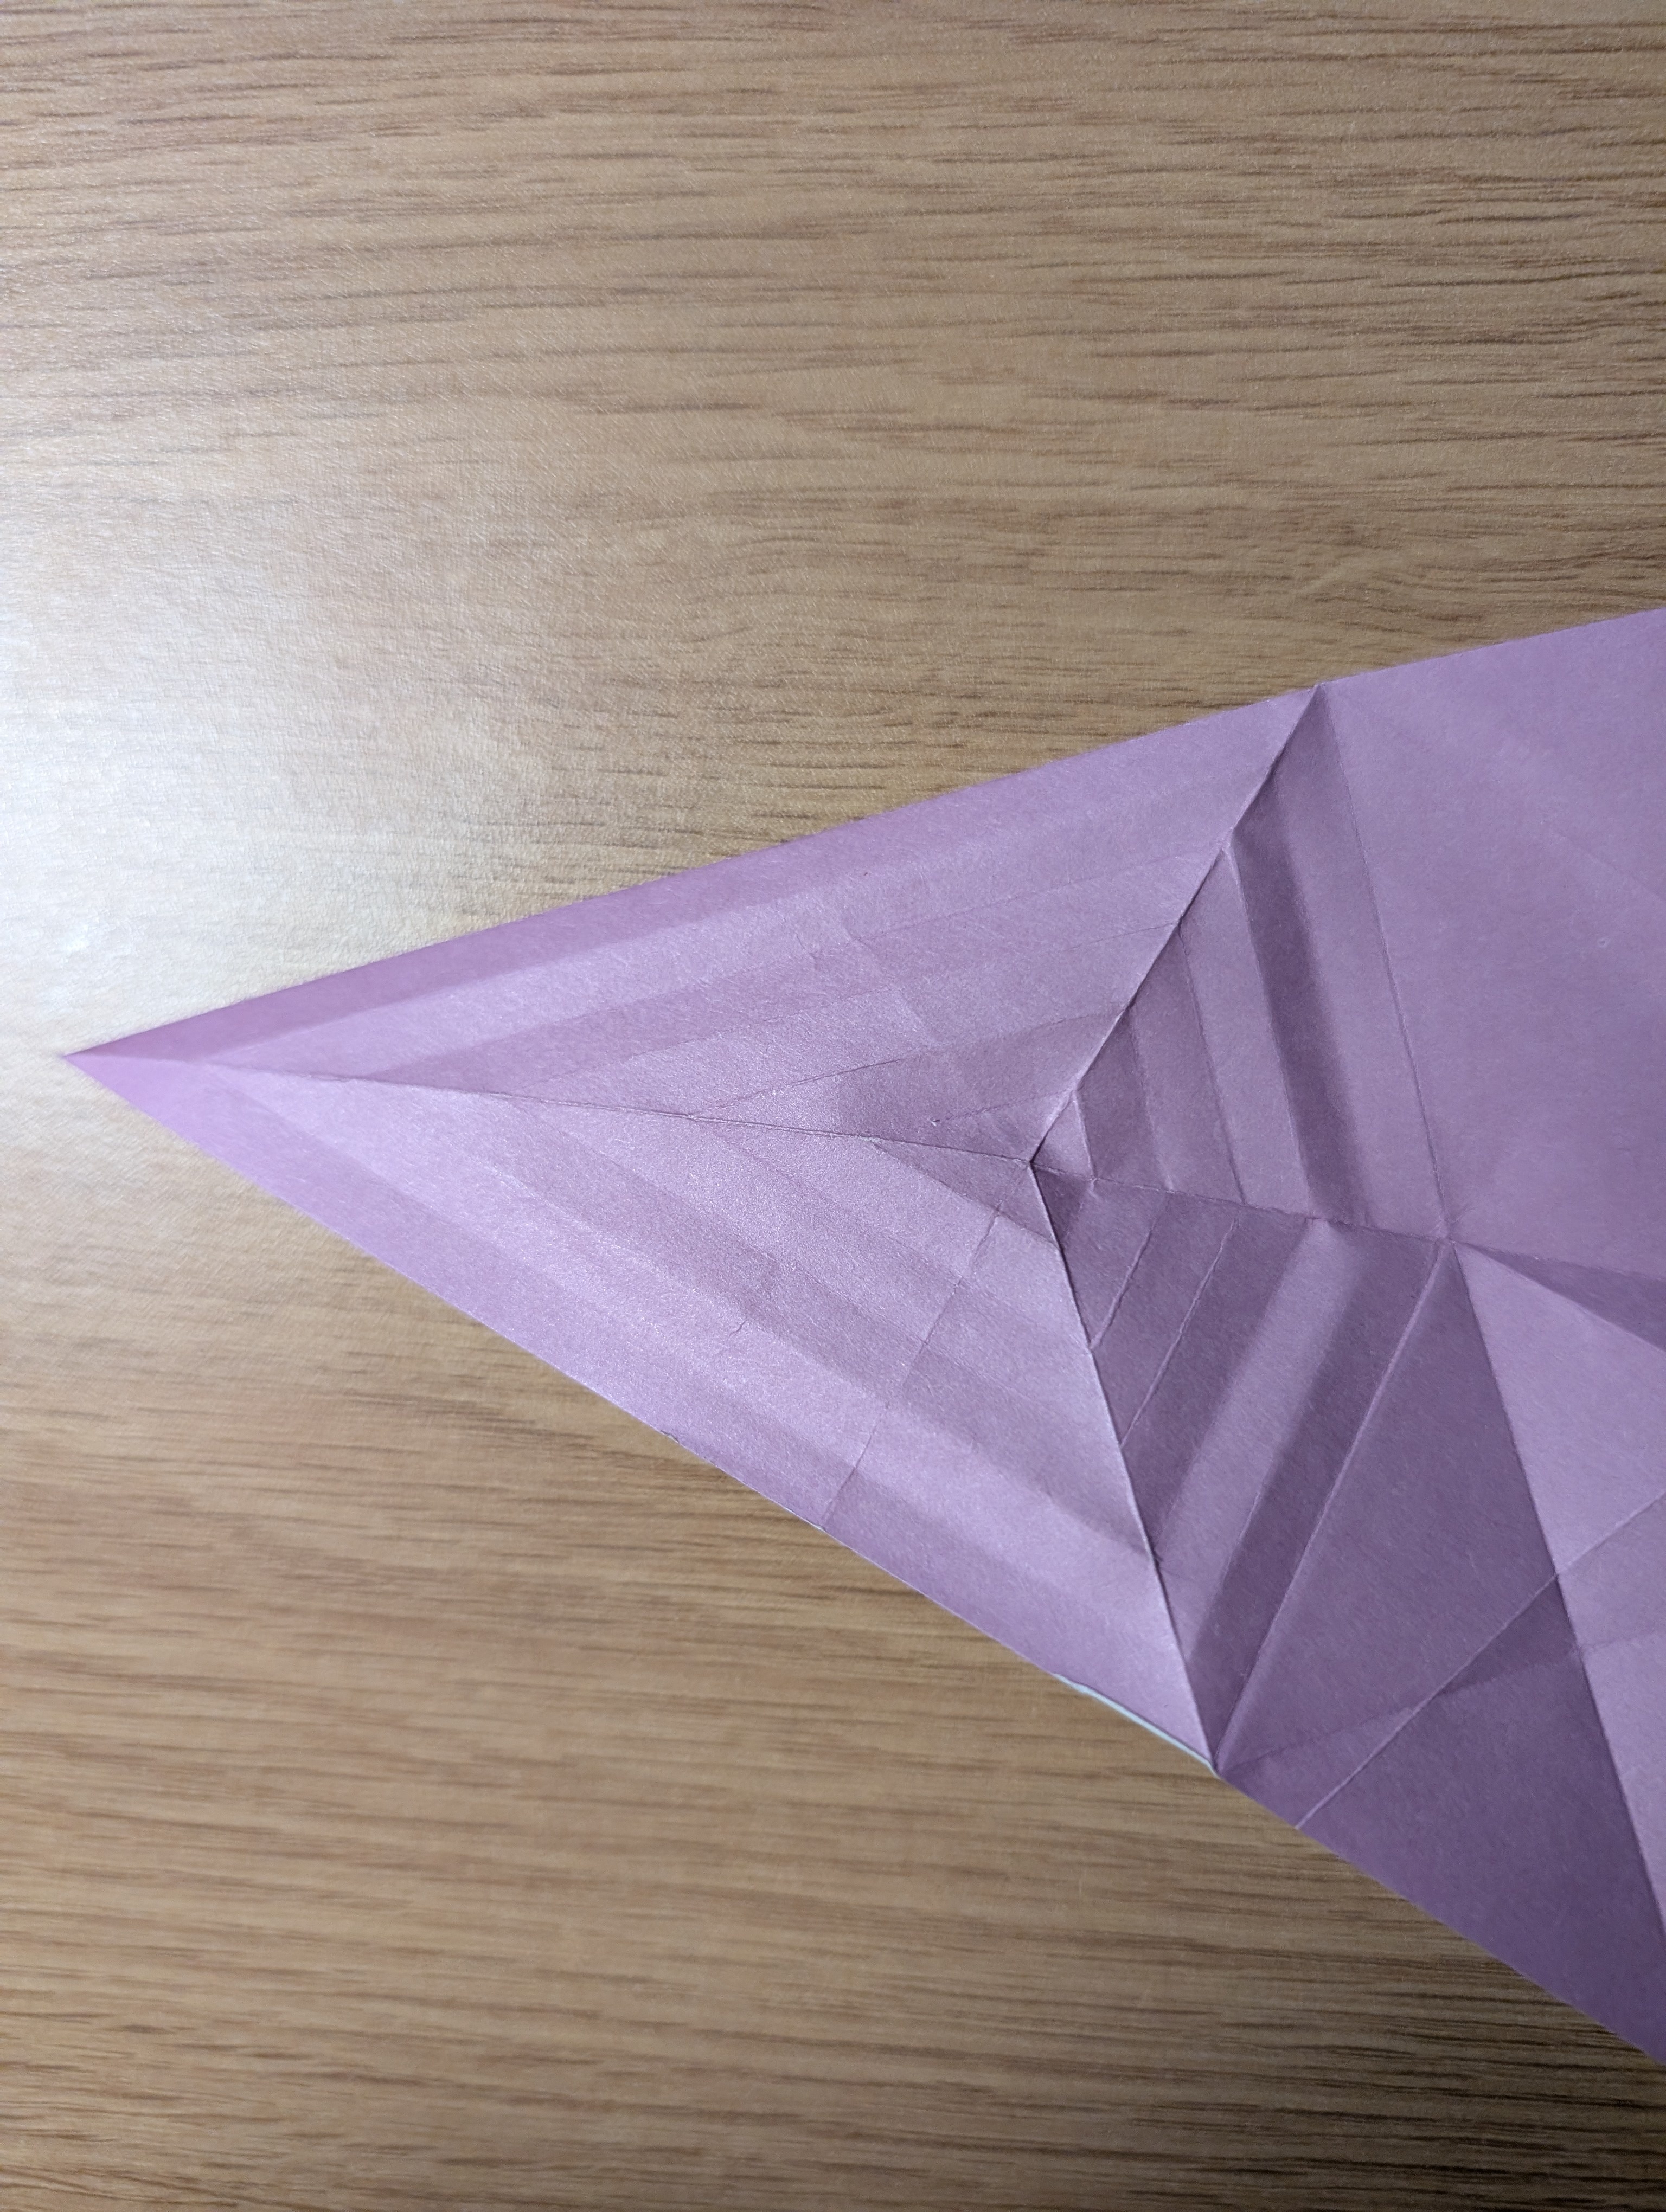
After precreasing, a model has to be collapsed to the base: a rough, ‘stick-figure’ version of the full origami. In the above image, all essential features of the lyrebird are already visible: the feathery tail on the left, two special feathers at the top and bottom and a diamond shape on the right which, upon closer inspection becomes the rest of the bird.
In most instructions, the transition from precreasing to collapsing is dynamic: the amount of creasing becomes less and some things remain folded.
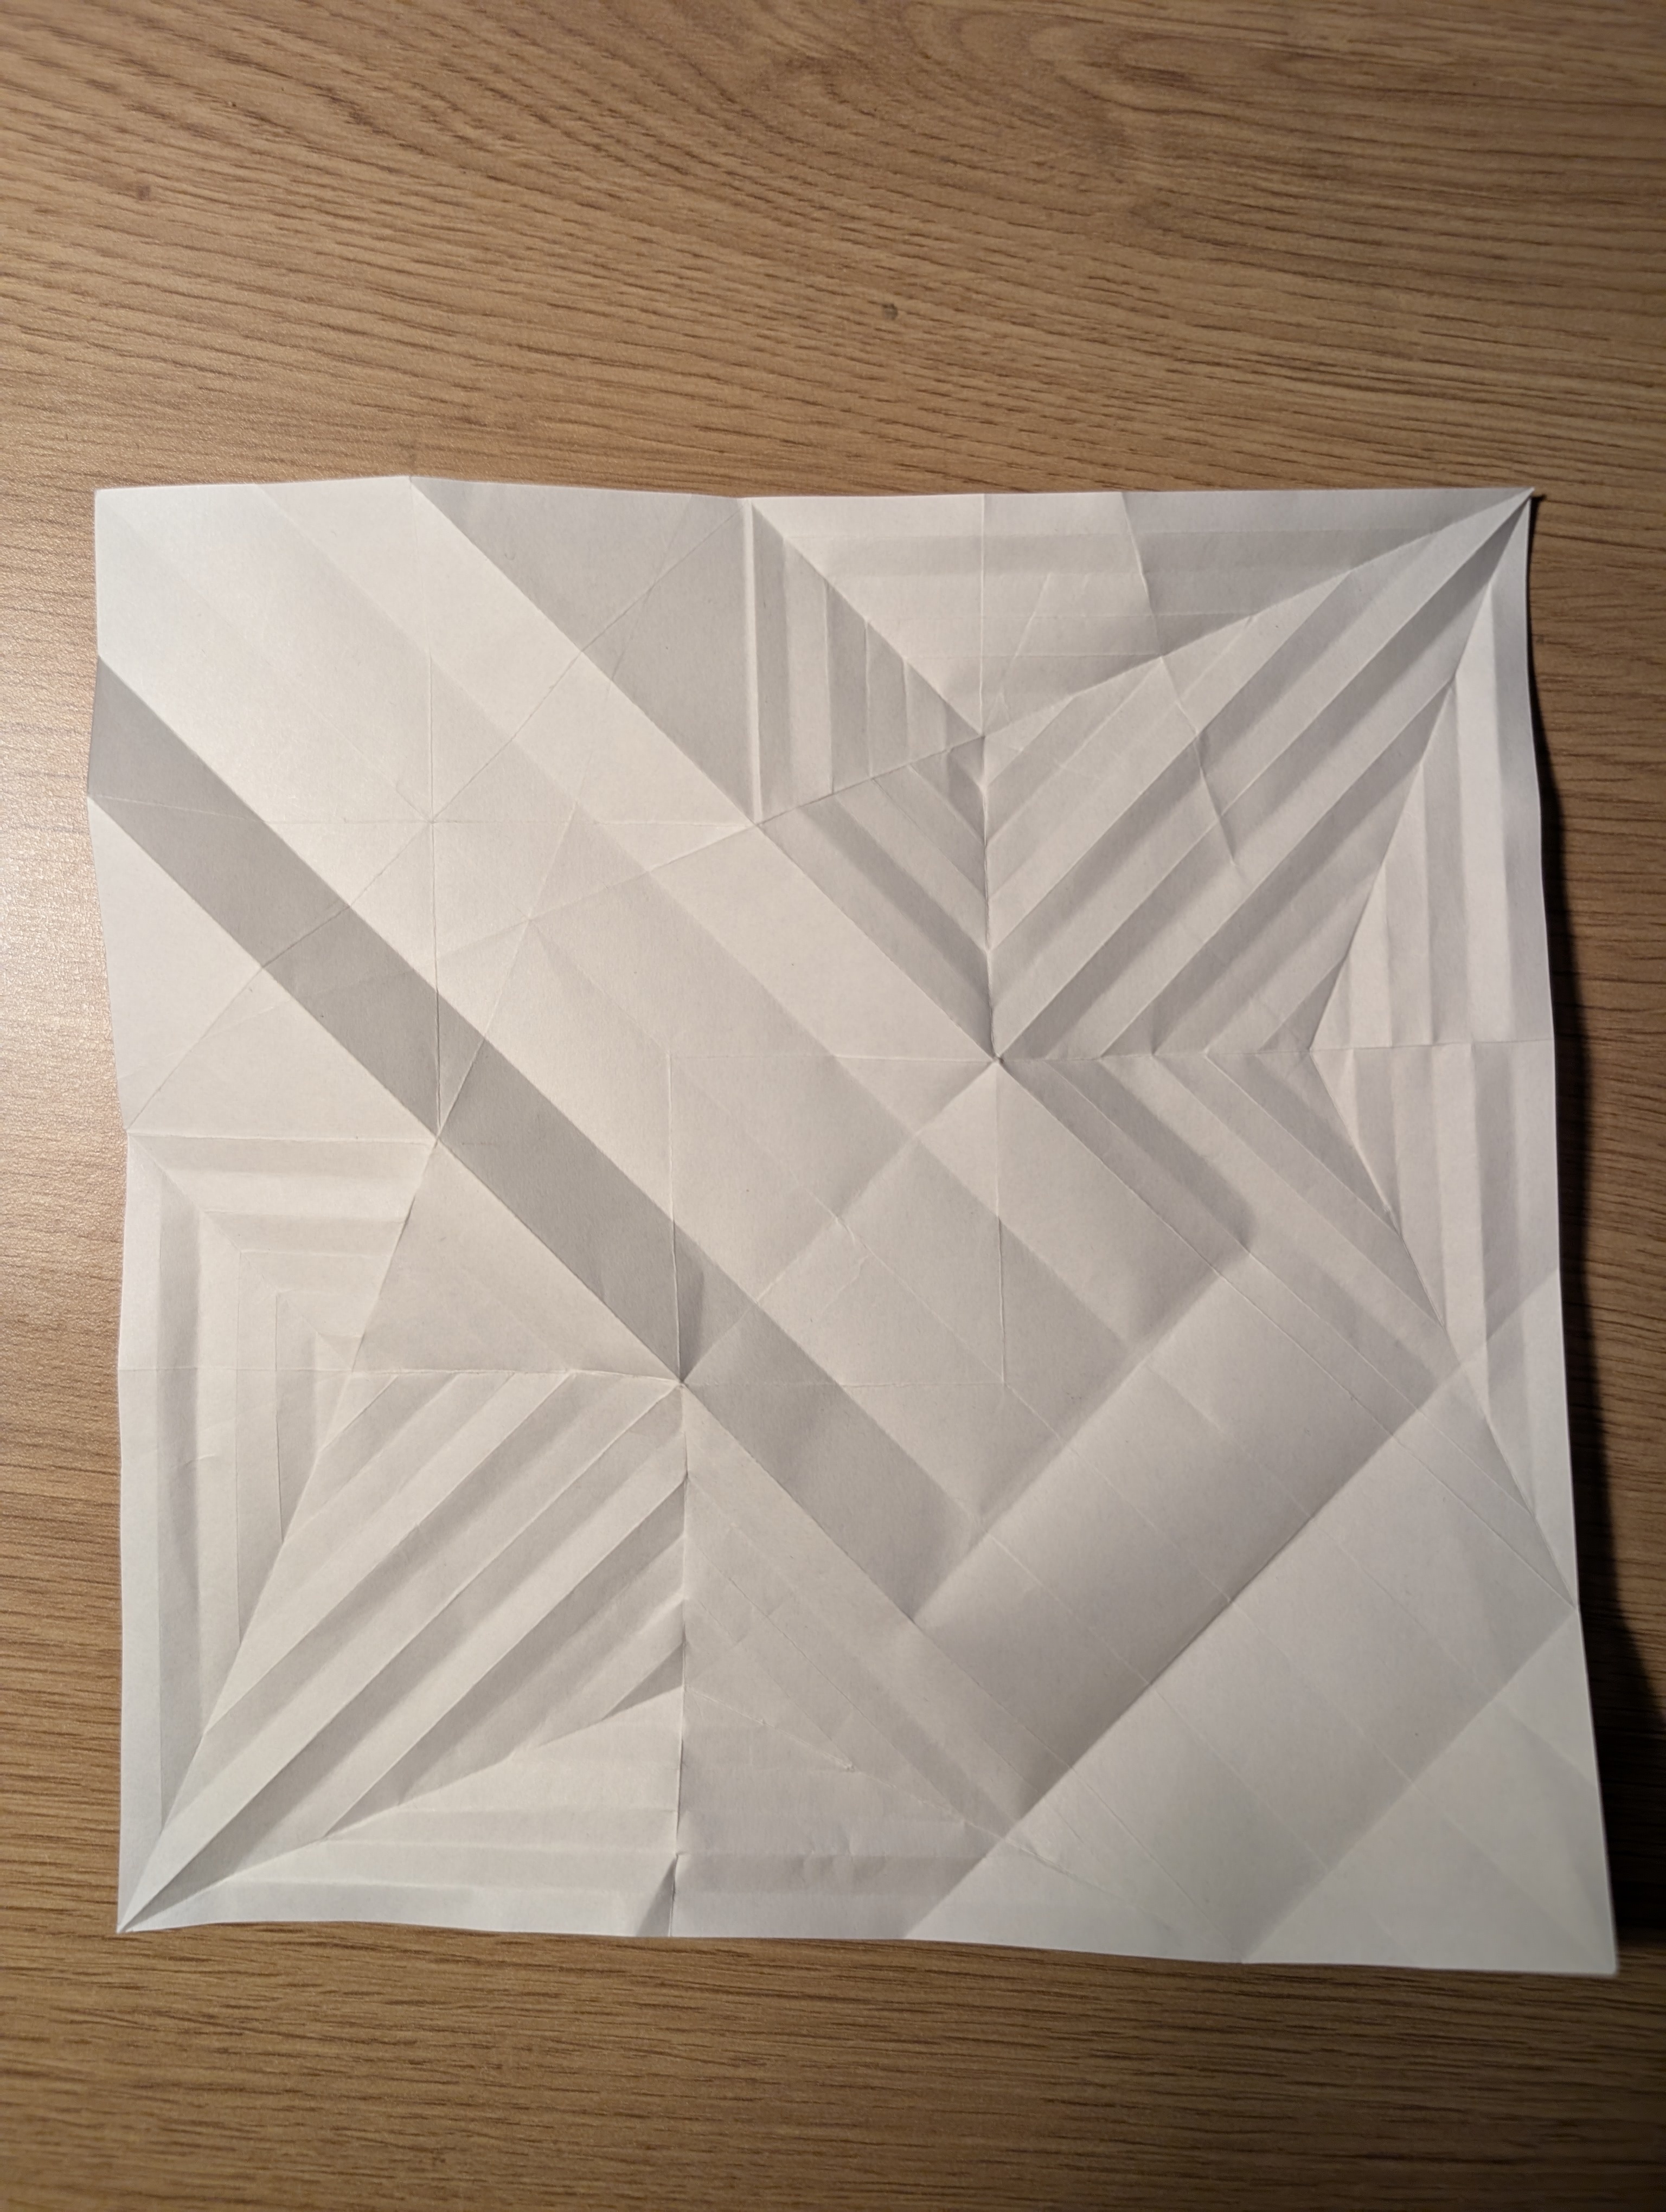
The image on the right shows the number of layers the lyrebird needed. Such a high number makes precise creasing very difficult. Thinner paper helps, as well as (to an extent) larger paper. At approximately this step, when trying to manage those layers, I first heard a loud rrripppp 😢 (more on that later).
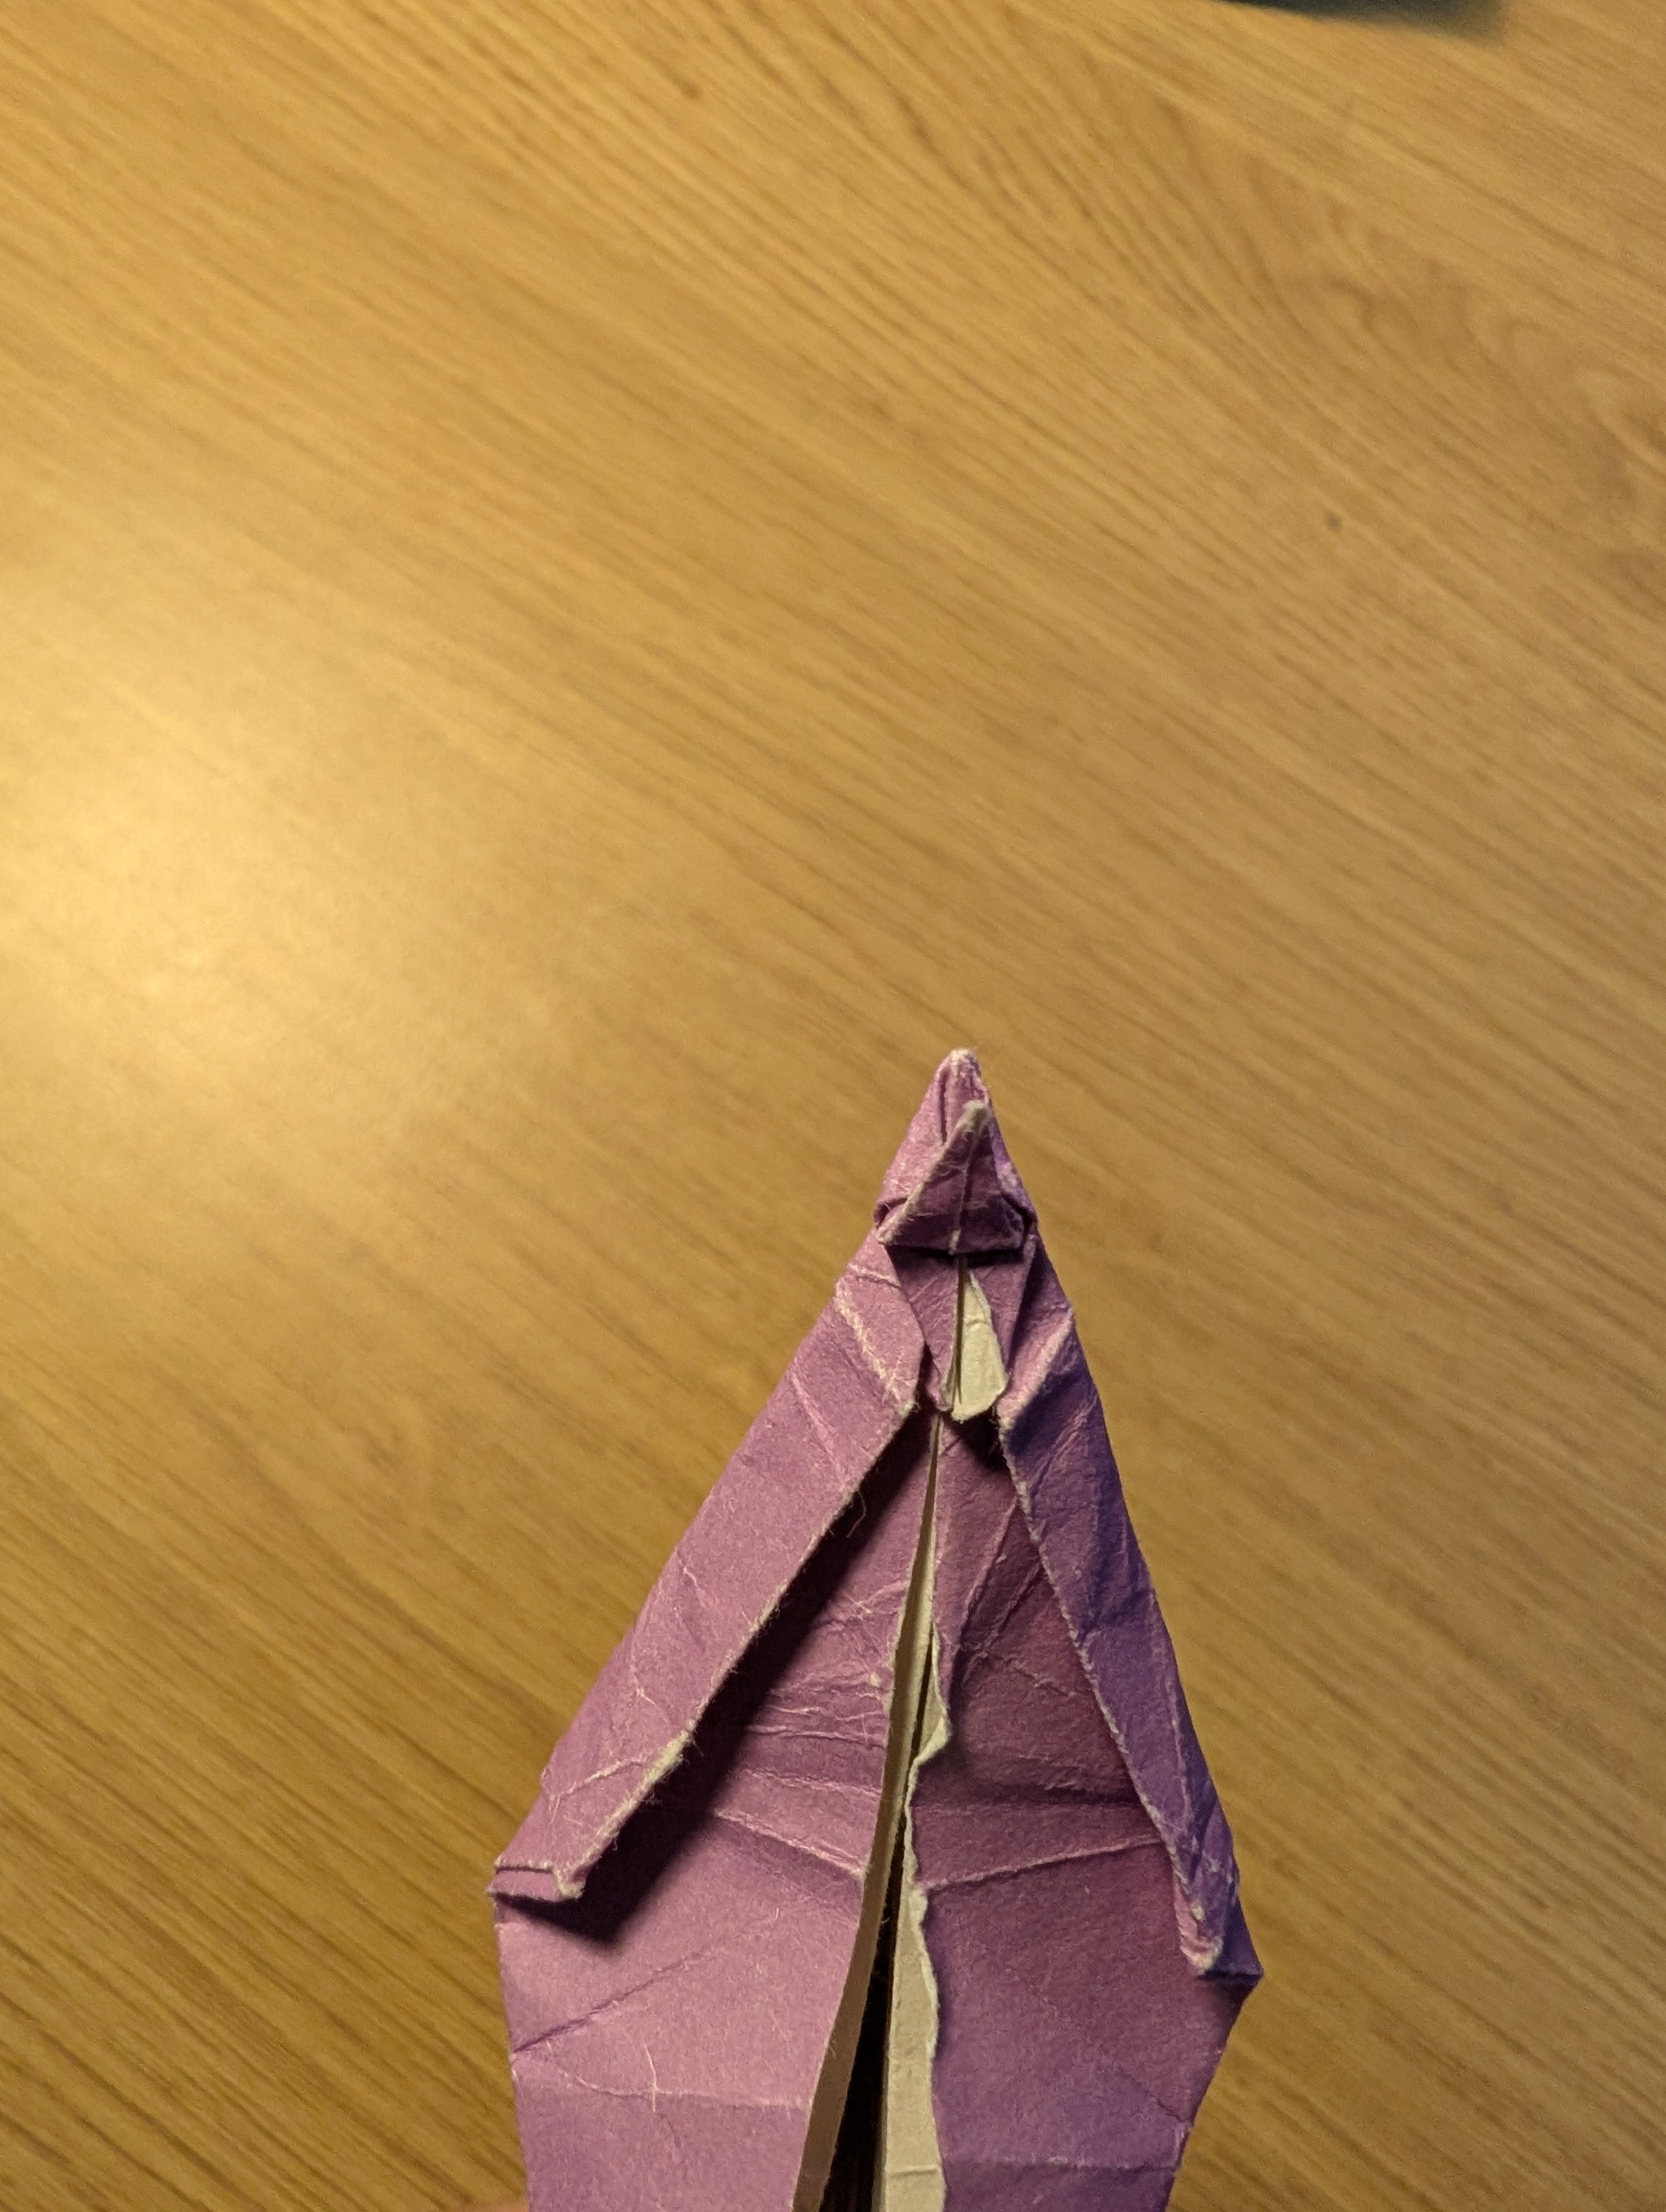
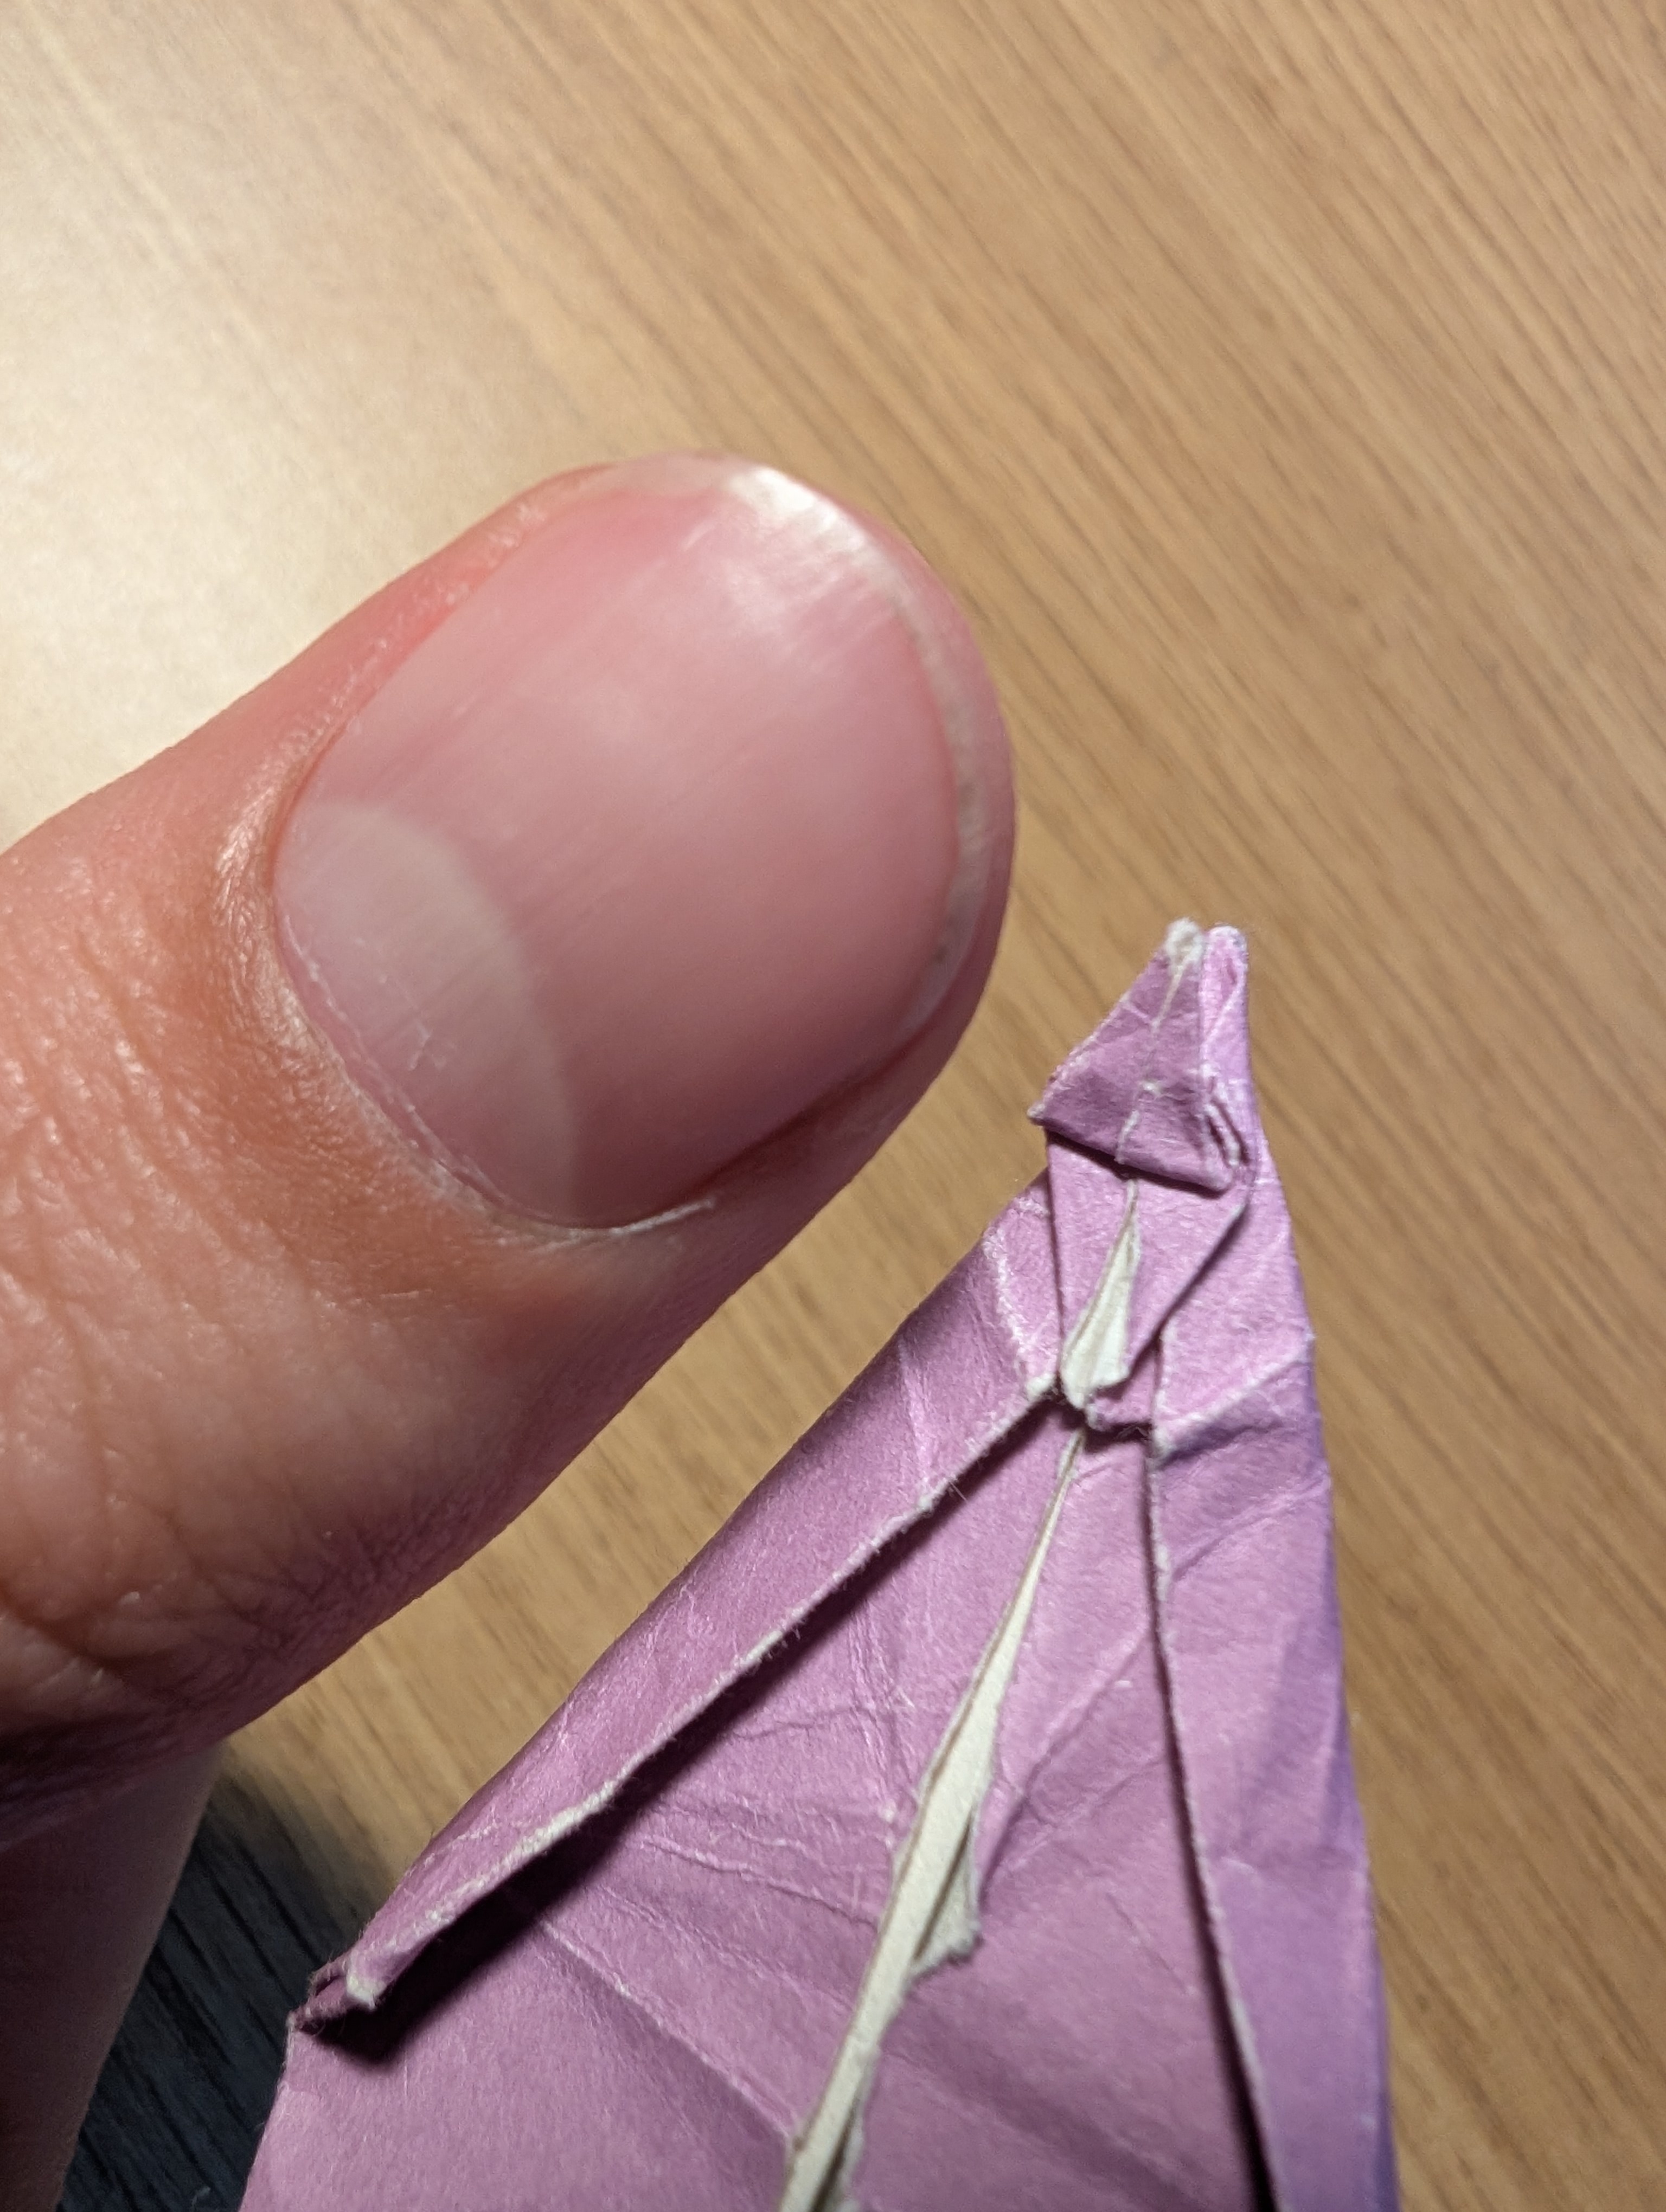
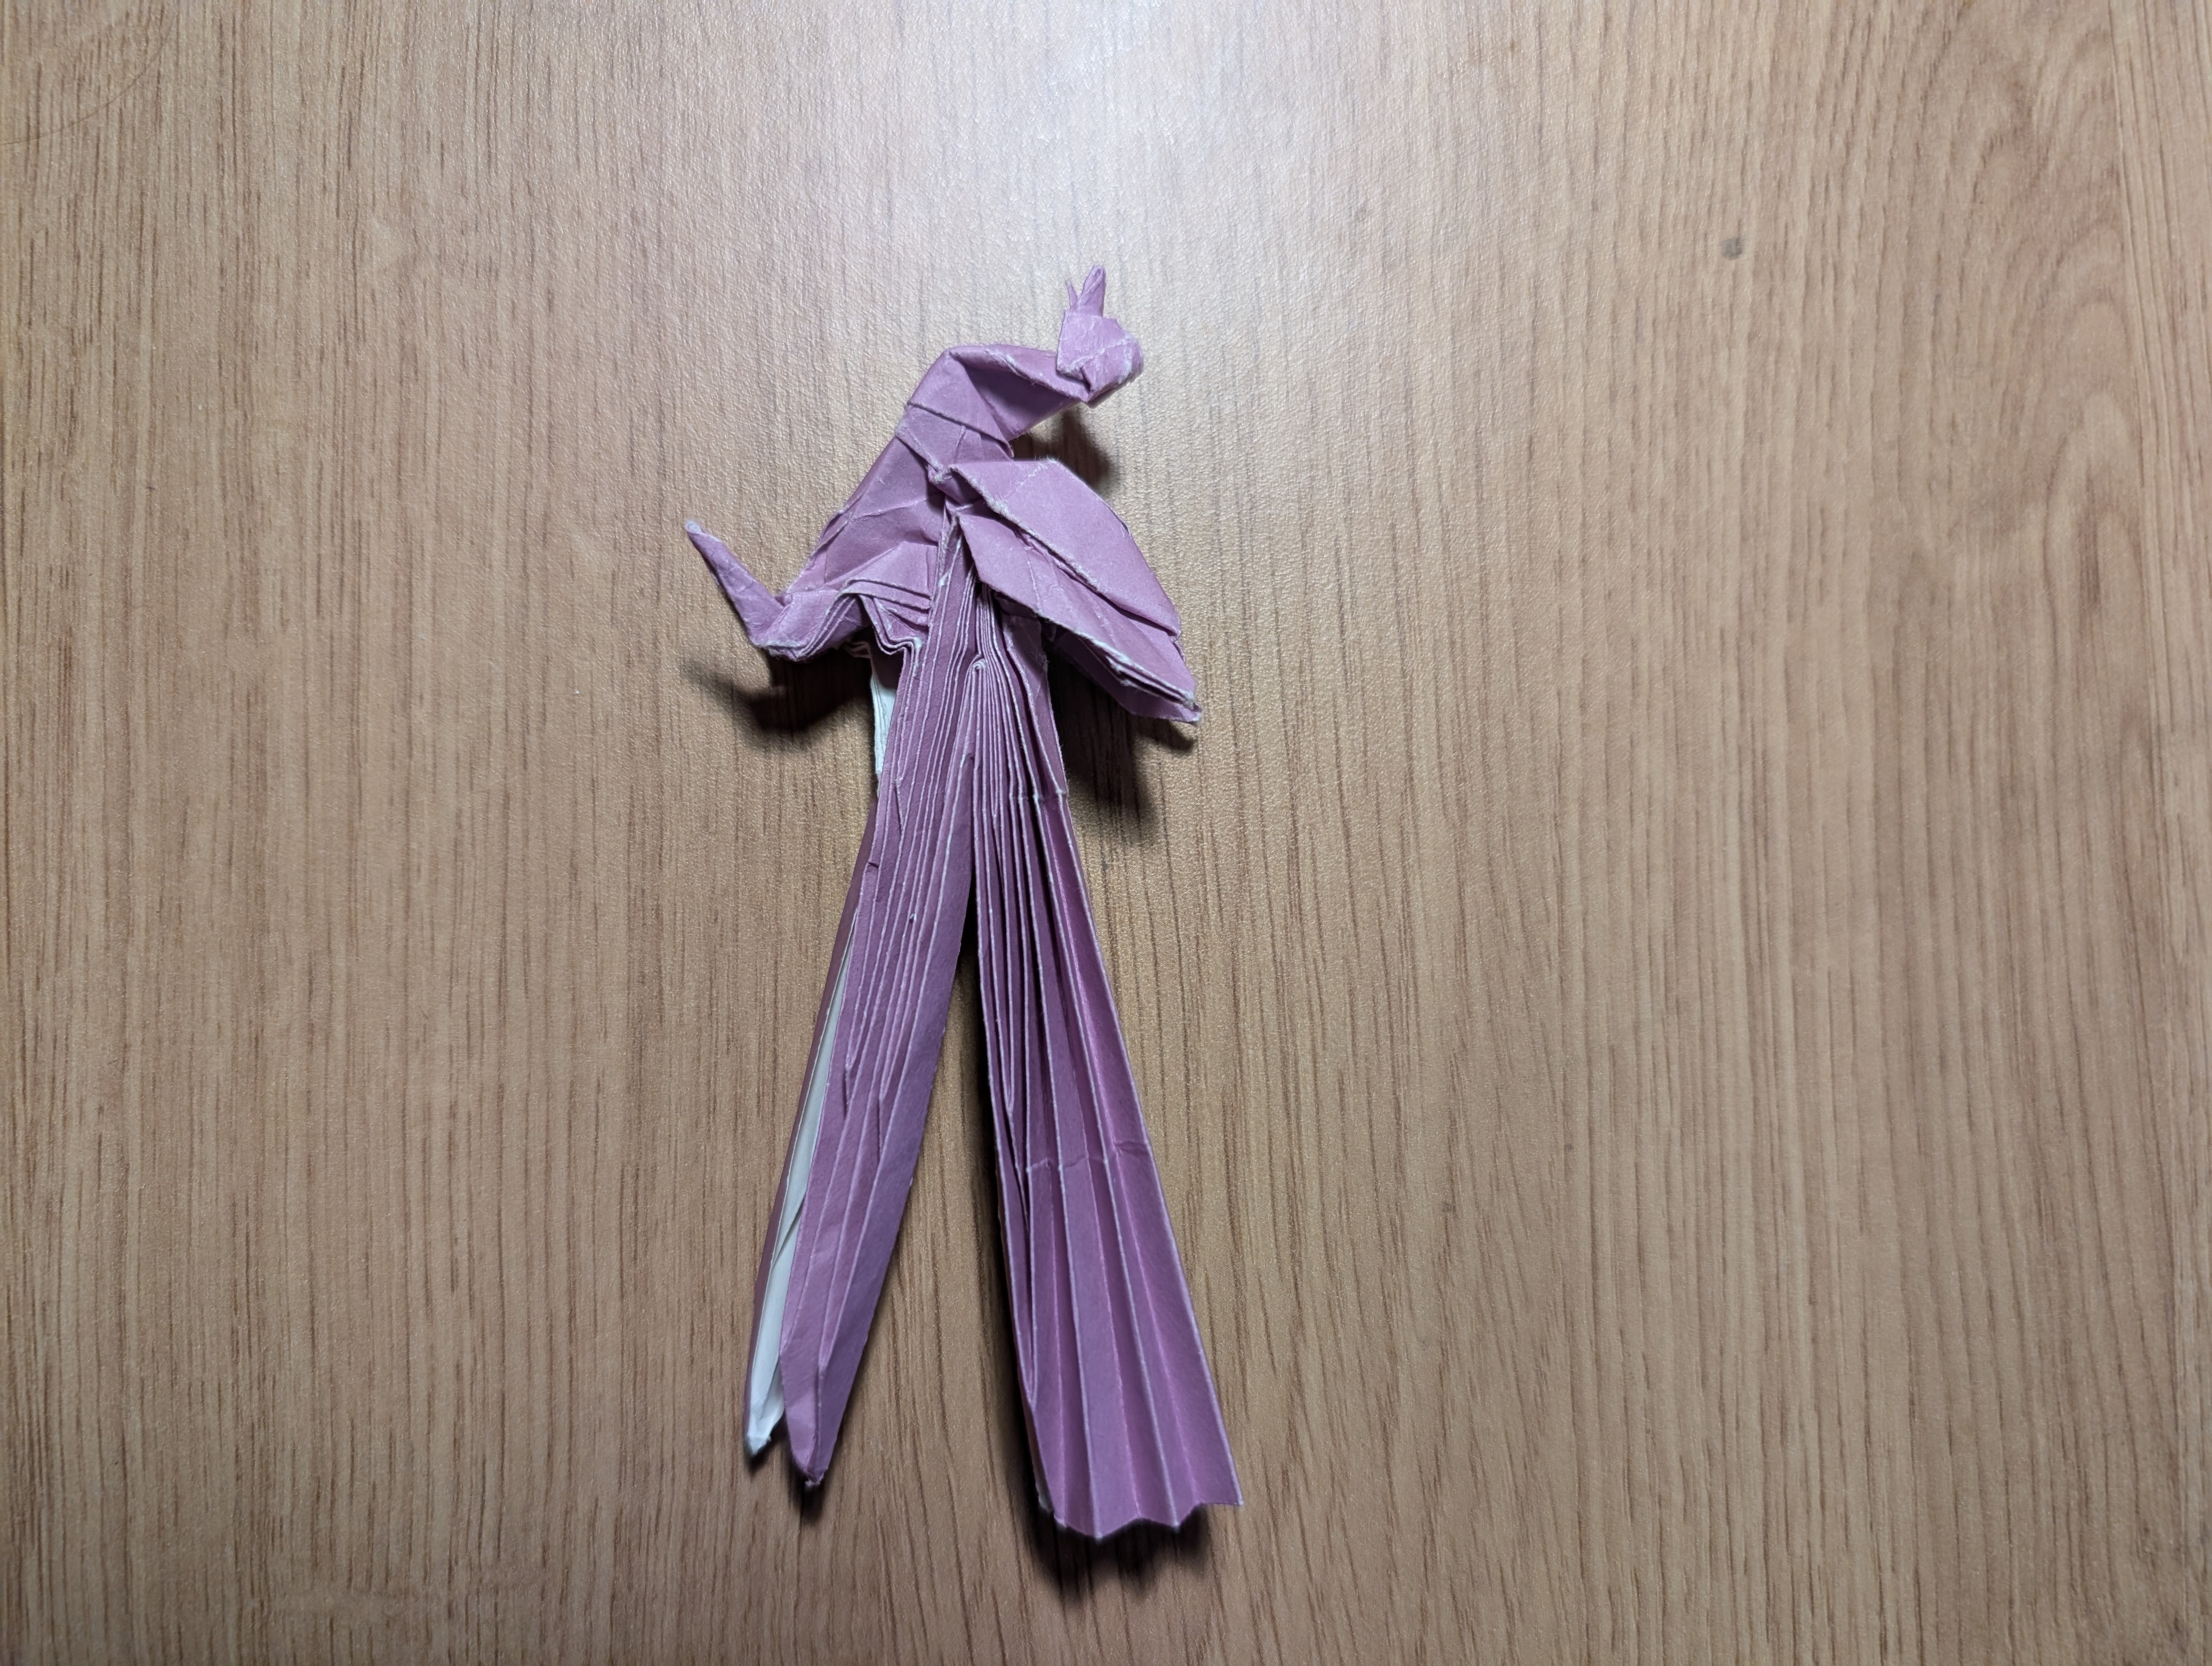
Before I uncovered the fatal rip, I was stuck for a while at a particularly confusing step. This was related to the bird part of the lyrebird—particularly to the head and beak. Instructions unclear, ended up with wrong size. After some further trials and re-folds, I succeeded in getting the folds functionally right. Aesthetically wrong, but I blame it on exhaustion. Also, have added thumb for scale. I sometimes struggle with folds that are too small for my fingers to grasp. The final bird body looked alright, though. I will pretend that the extended wings and the fact that the bird looks like it’s about to fly away is a feature, not a bug.
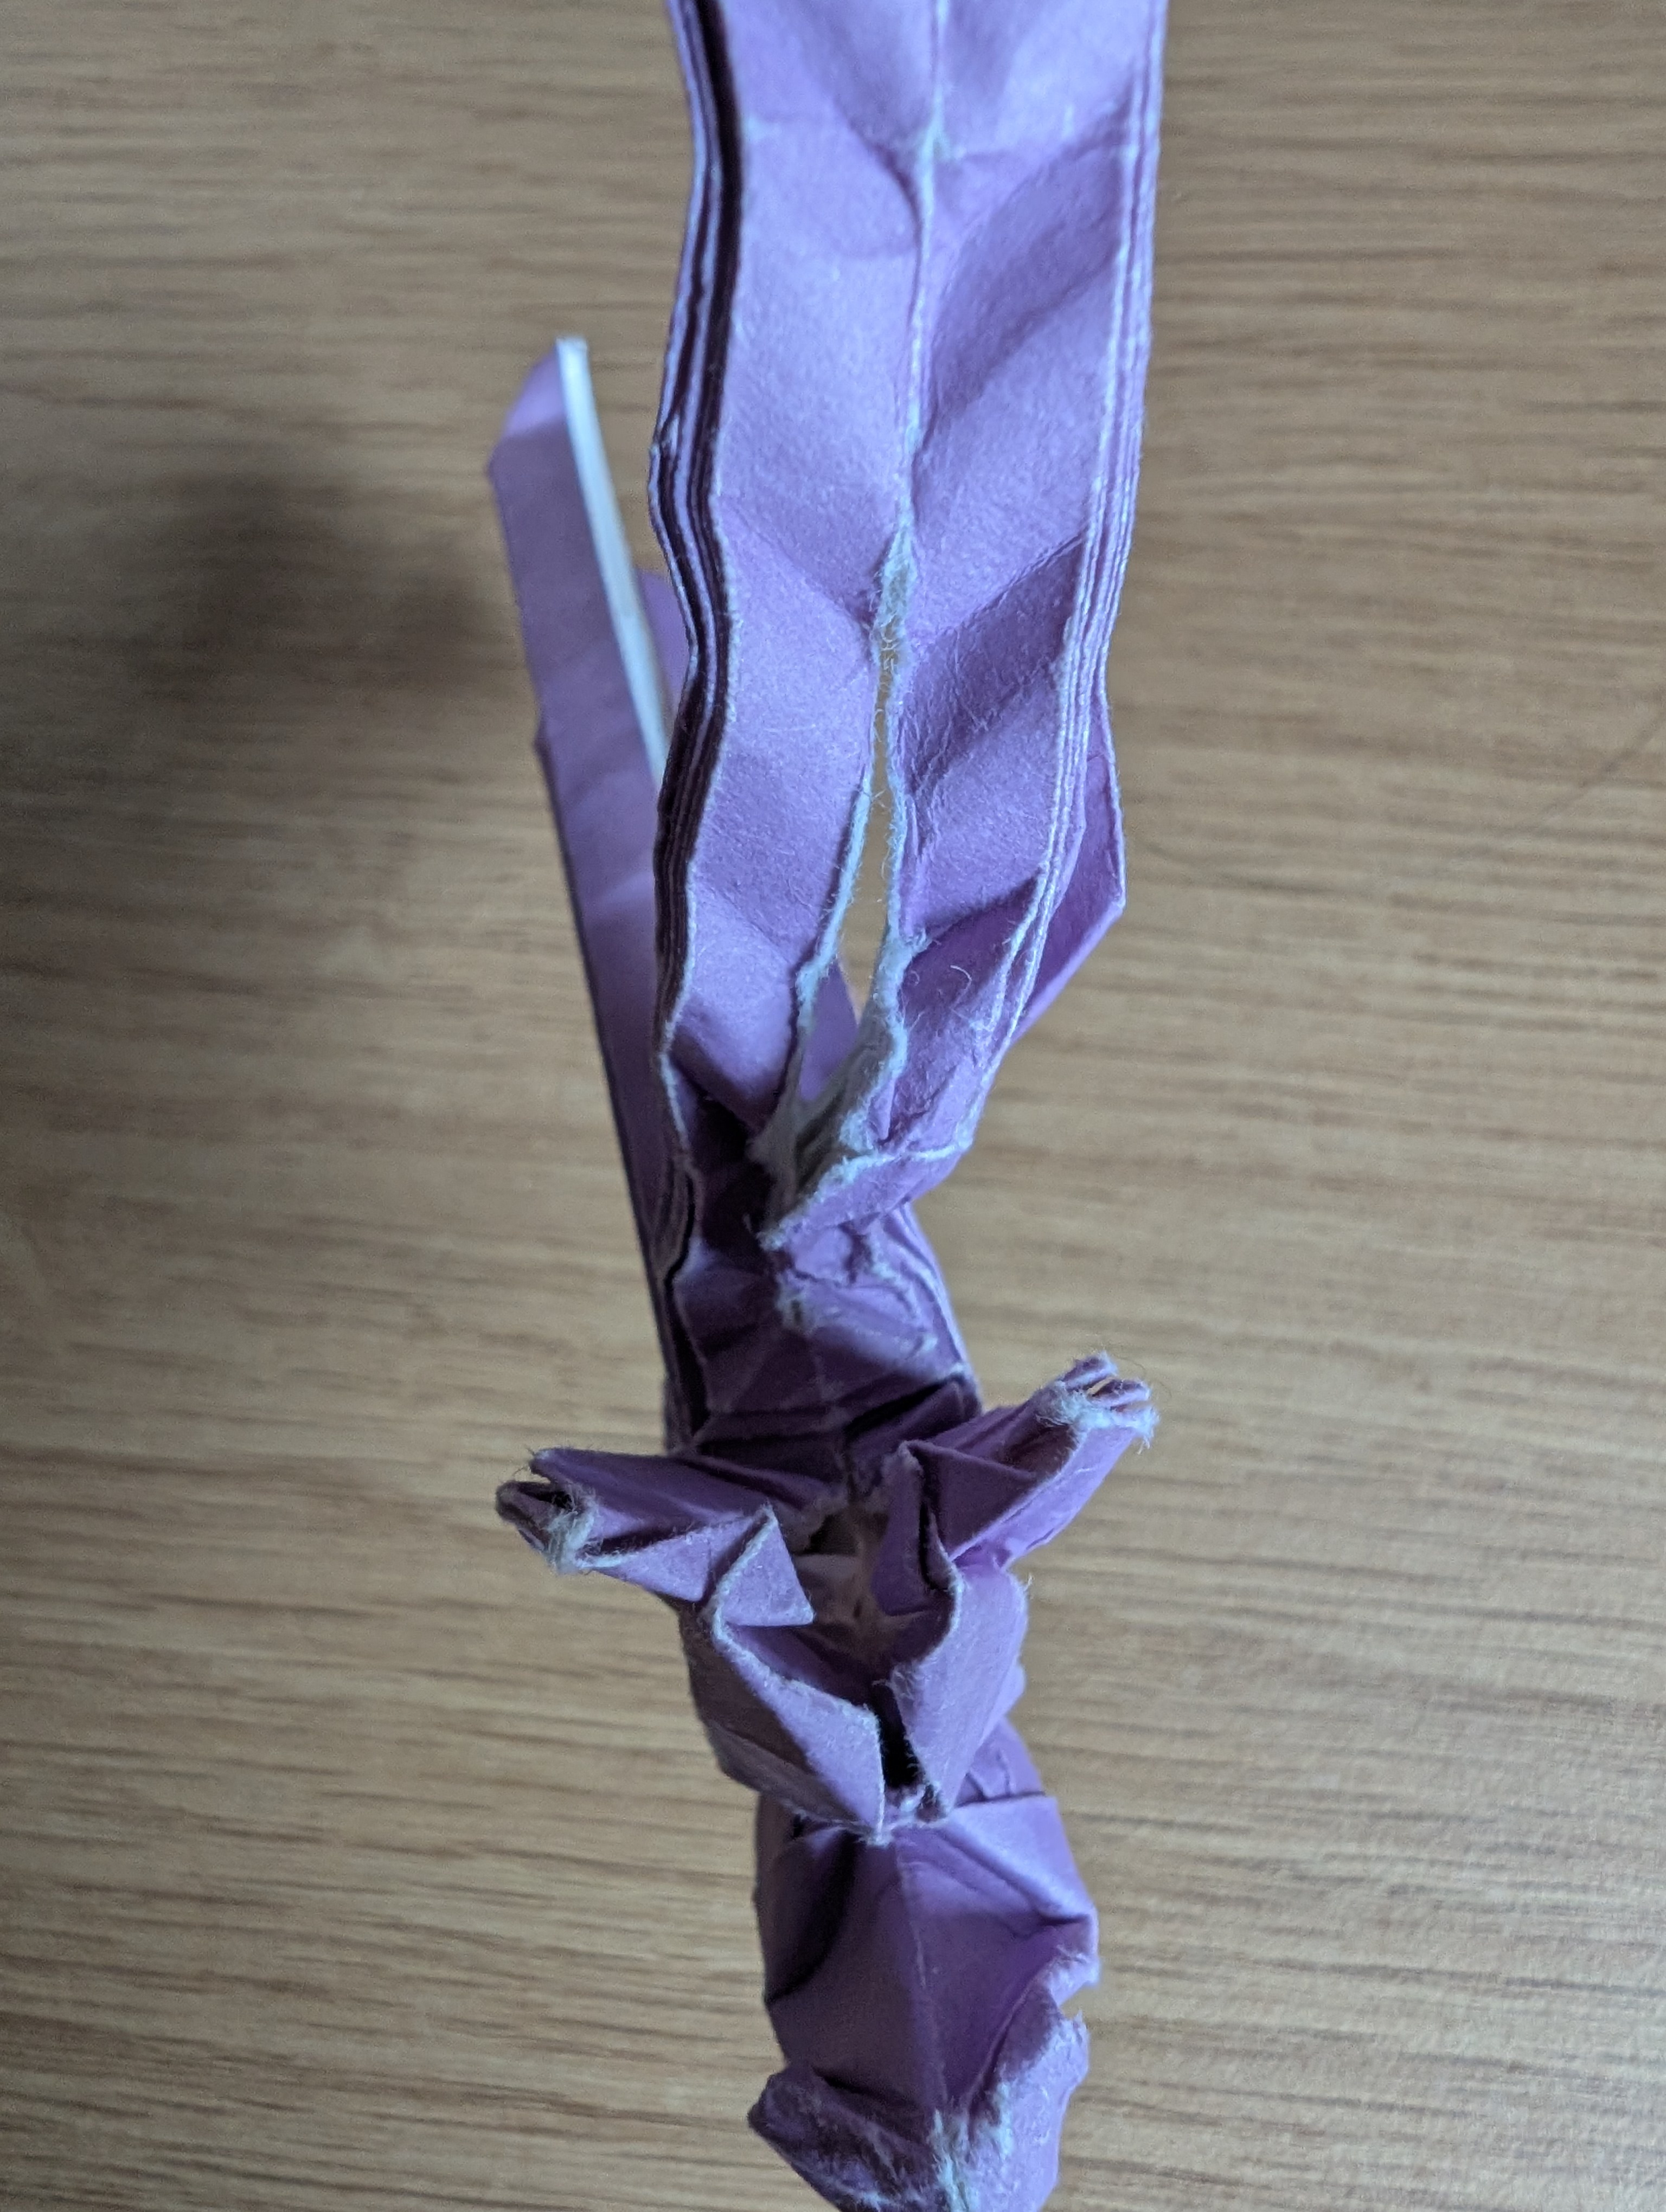
Turning to the tail, I found an unusually large cleavage where the feathers were supposed to be. The tail originally require a large amount of tesselation: the fancy word for doing the same thing over and over again, potentially hundreds of times, to create a pattern. I hadn’t particularly warmed up to tesselations before and this gave me the perfect excuse to do a shoddy job with whatever was left of it.
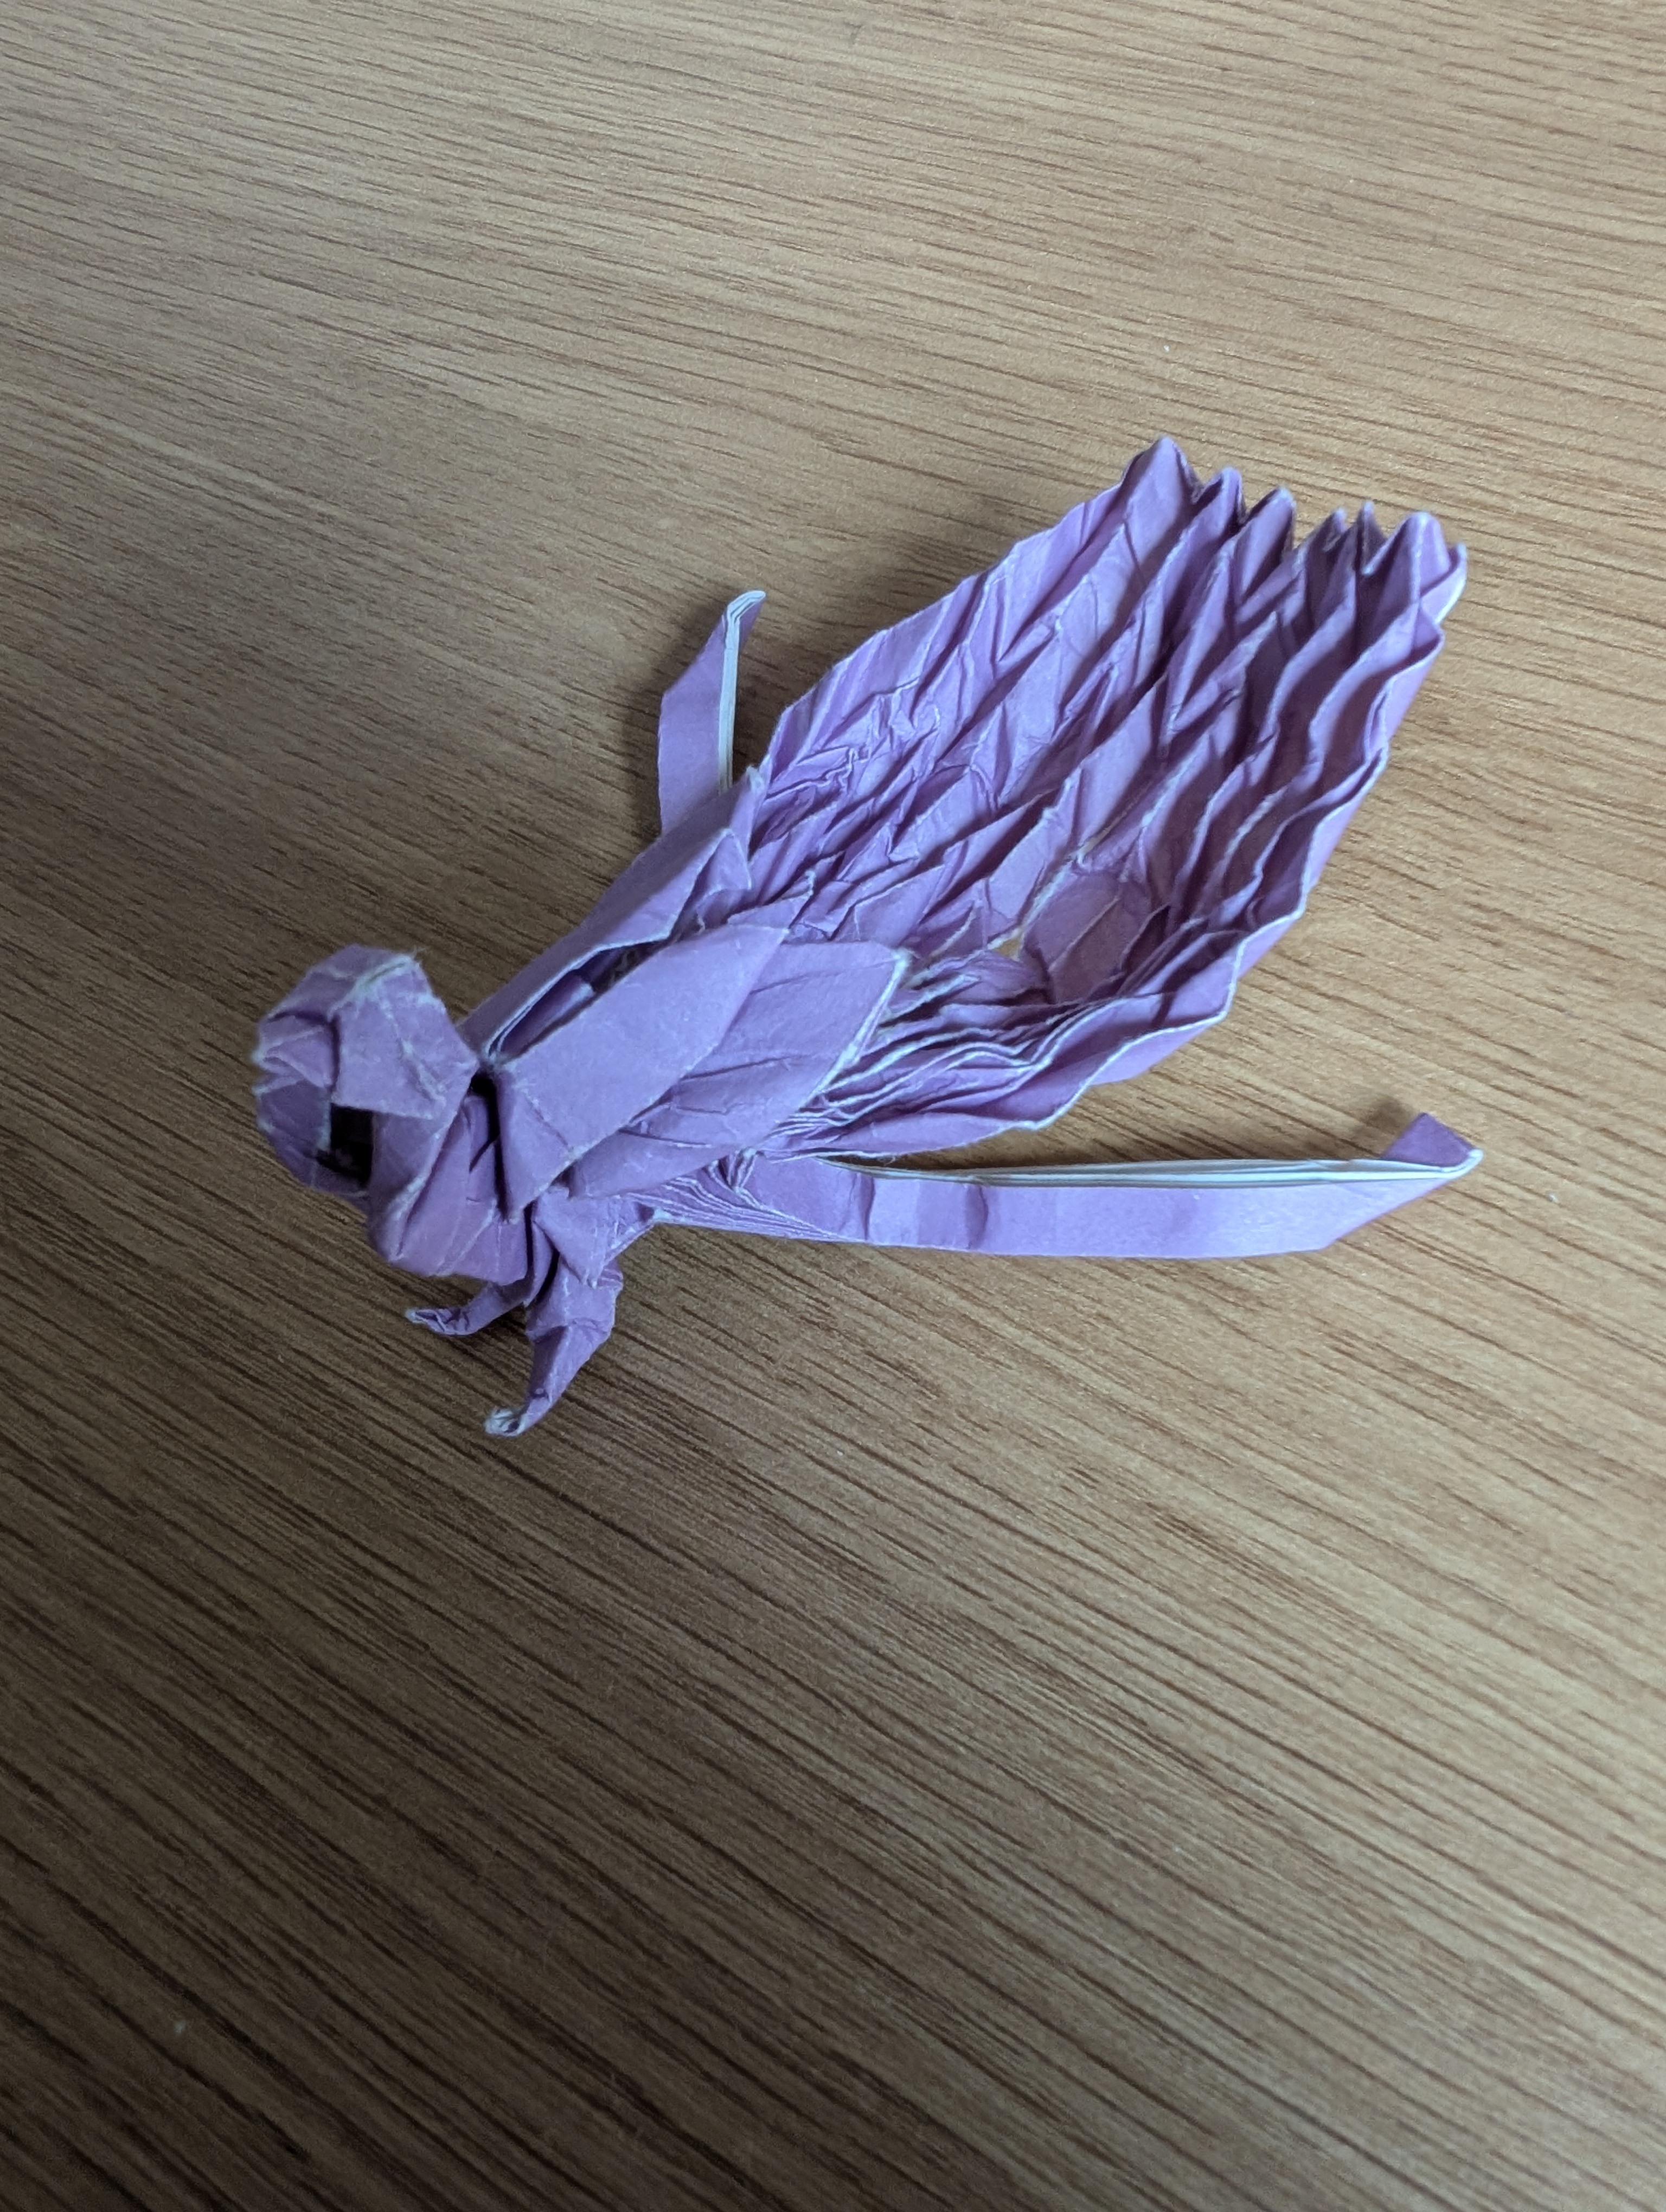
This sad, sitting lyrebird is the result before the finishing touches and final glow-up. The feathery tail clearly indicates the folder’s frustration. The slightly less sad version (and elegantly turned away from the camera) is perched below.